In this section, you can configure the AI Chatbot / AI Assistant appearance to match your website and branding.
General Settings
In the first section of chatbot appearance settings, you will find the general settings where you can configure the general appearance settings for the chatbot.
Let’s check each of them one by one and see what you can do with them.
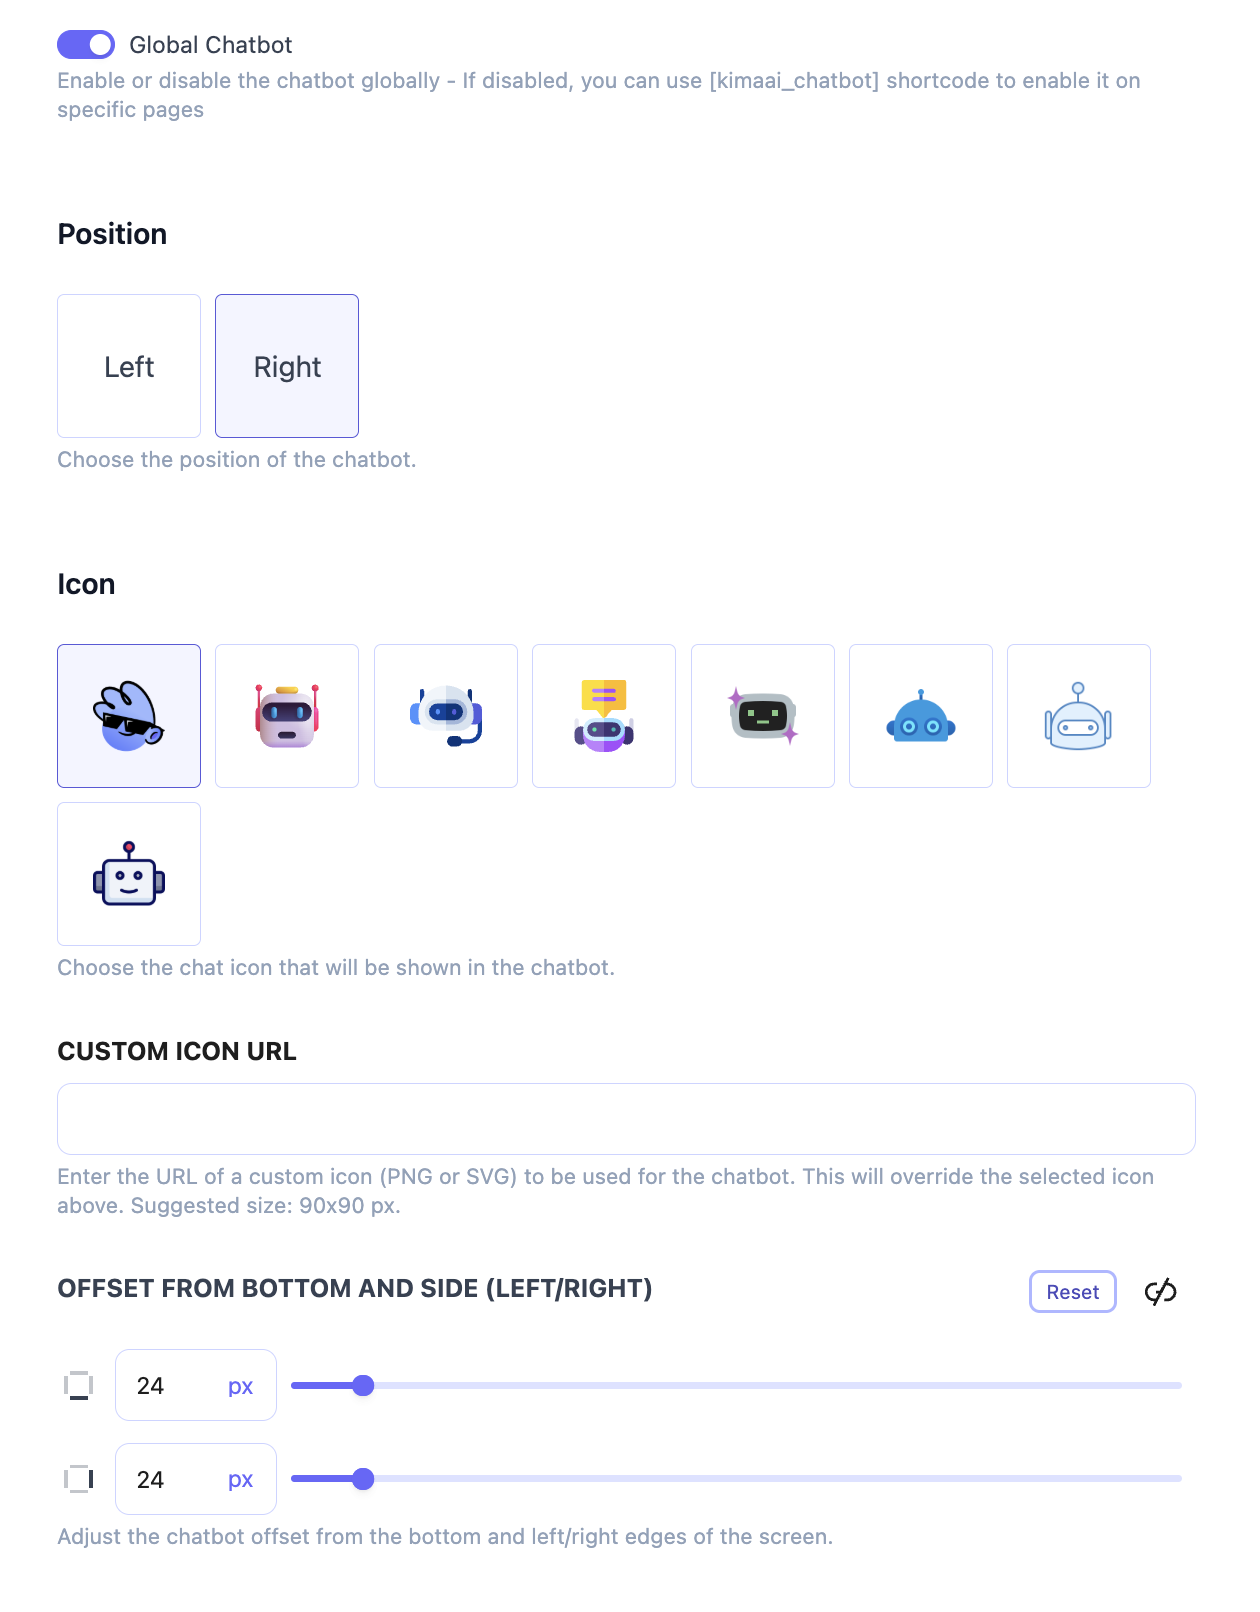
Global Chatbot toggle
With this toggle you can enable or disable the chatbot globally – If disabled, you can use kimaai_chatbot shortcode to enable it on specific pages.
This would be helpful if you only need the chatbot to be enabled in one or some pages and not in all the website.
Position
Now, as you might have already guessed, with this setting, you can choose the chatbot widget position on the website. There are Left and Right options; choose one based on your current website layout.
Icon
You can choose the chatbot icon from this setting. We have some pre-defined options to choose from. If you don’t like them, don’t worry, you can choose your custom icon or even add your own logo in the next setting.
Custom Icon URL
Now, if you want more customization, enter the URL of a custom icon (PNG or SVG) to be used for the chatbot. It can be your website/business logo. This will override the selected icon above. Suggested size: 90×90 px.
Notice: You should upload the logo to the WordPress media library, then copy the full image URL and paste it inside this field.
Offset from bottom and side (Left/Right)
With this setting, you can adjust the chatbot icon widget offset from the bottom and left/right edges of the screen. You might want to use this setting because you already have some other widgets as well, and you don’t want them to overlap and block each other.
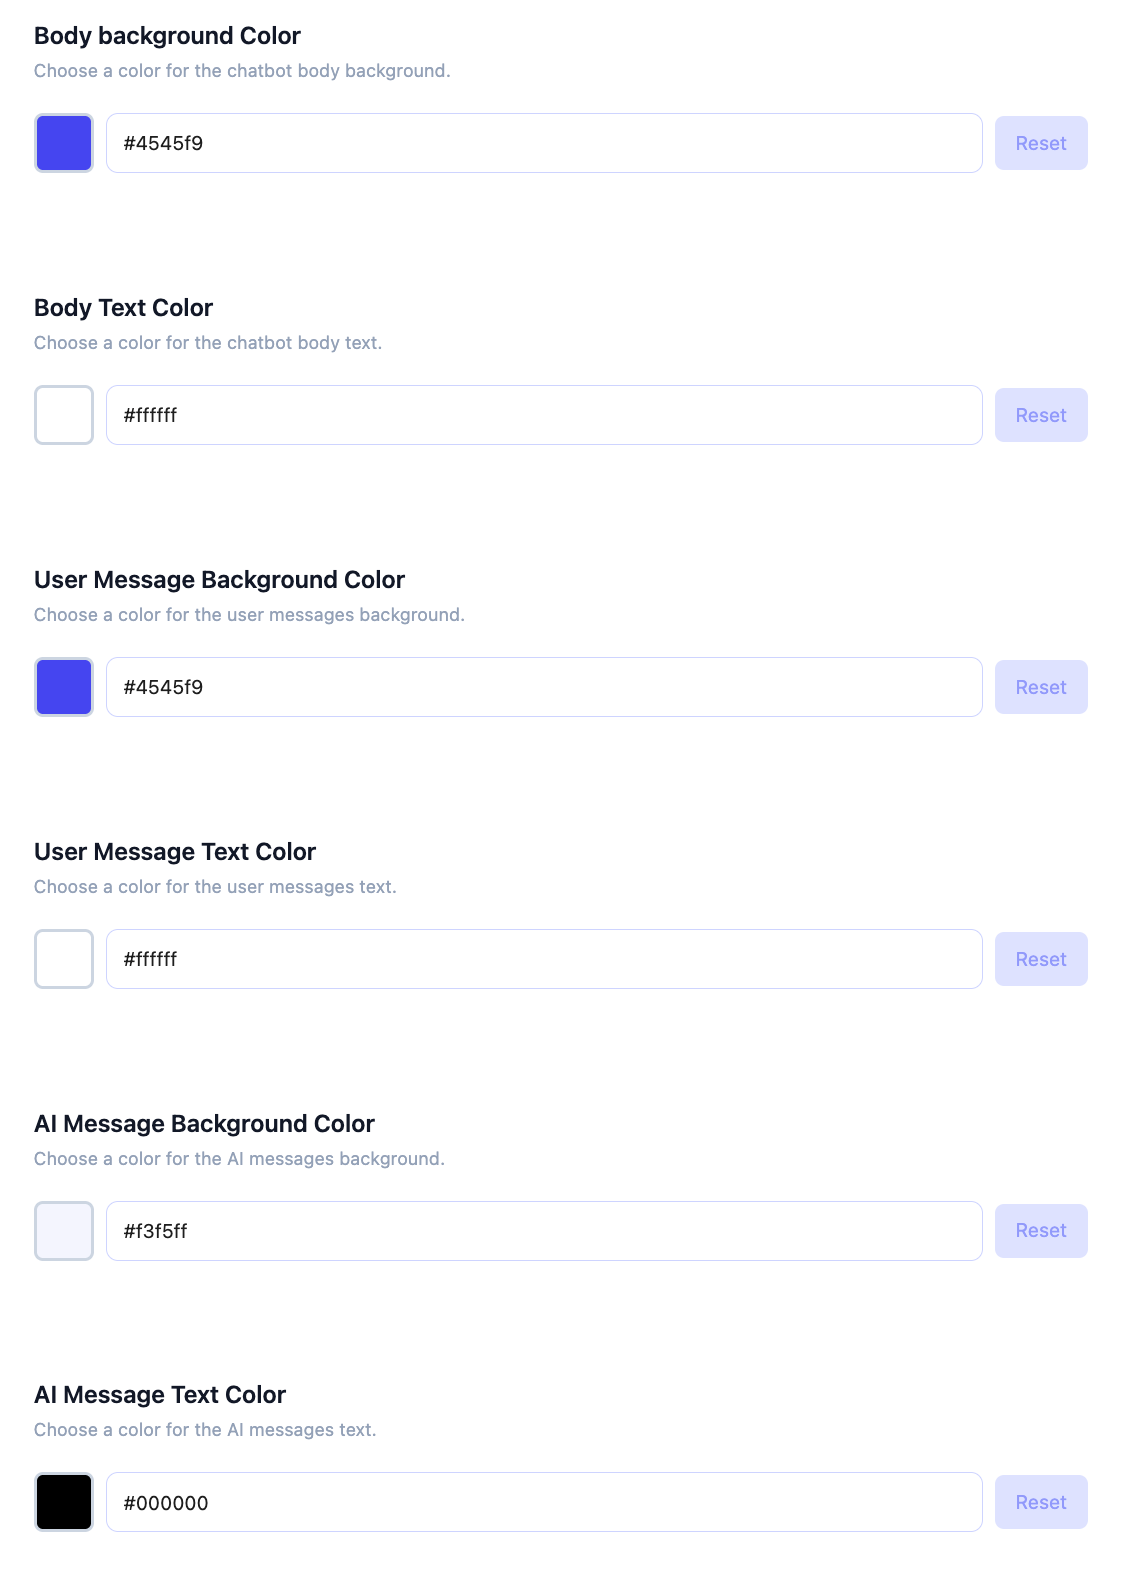
Customize the Colors
Another interesting setting is the color customization setting. With that, you can add your brand color to the AI Chatbot and make it an inseparable cool widget of your website.
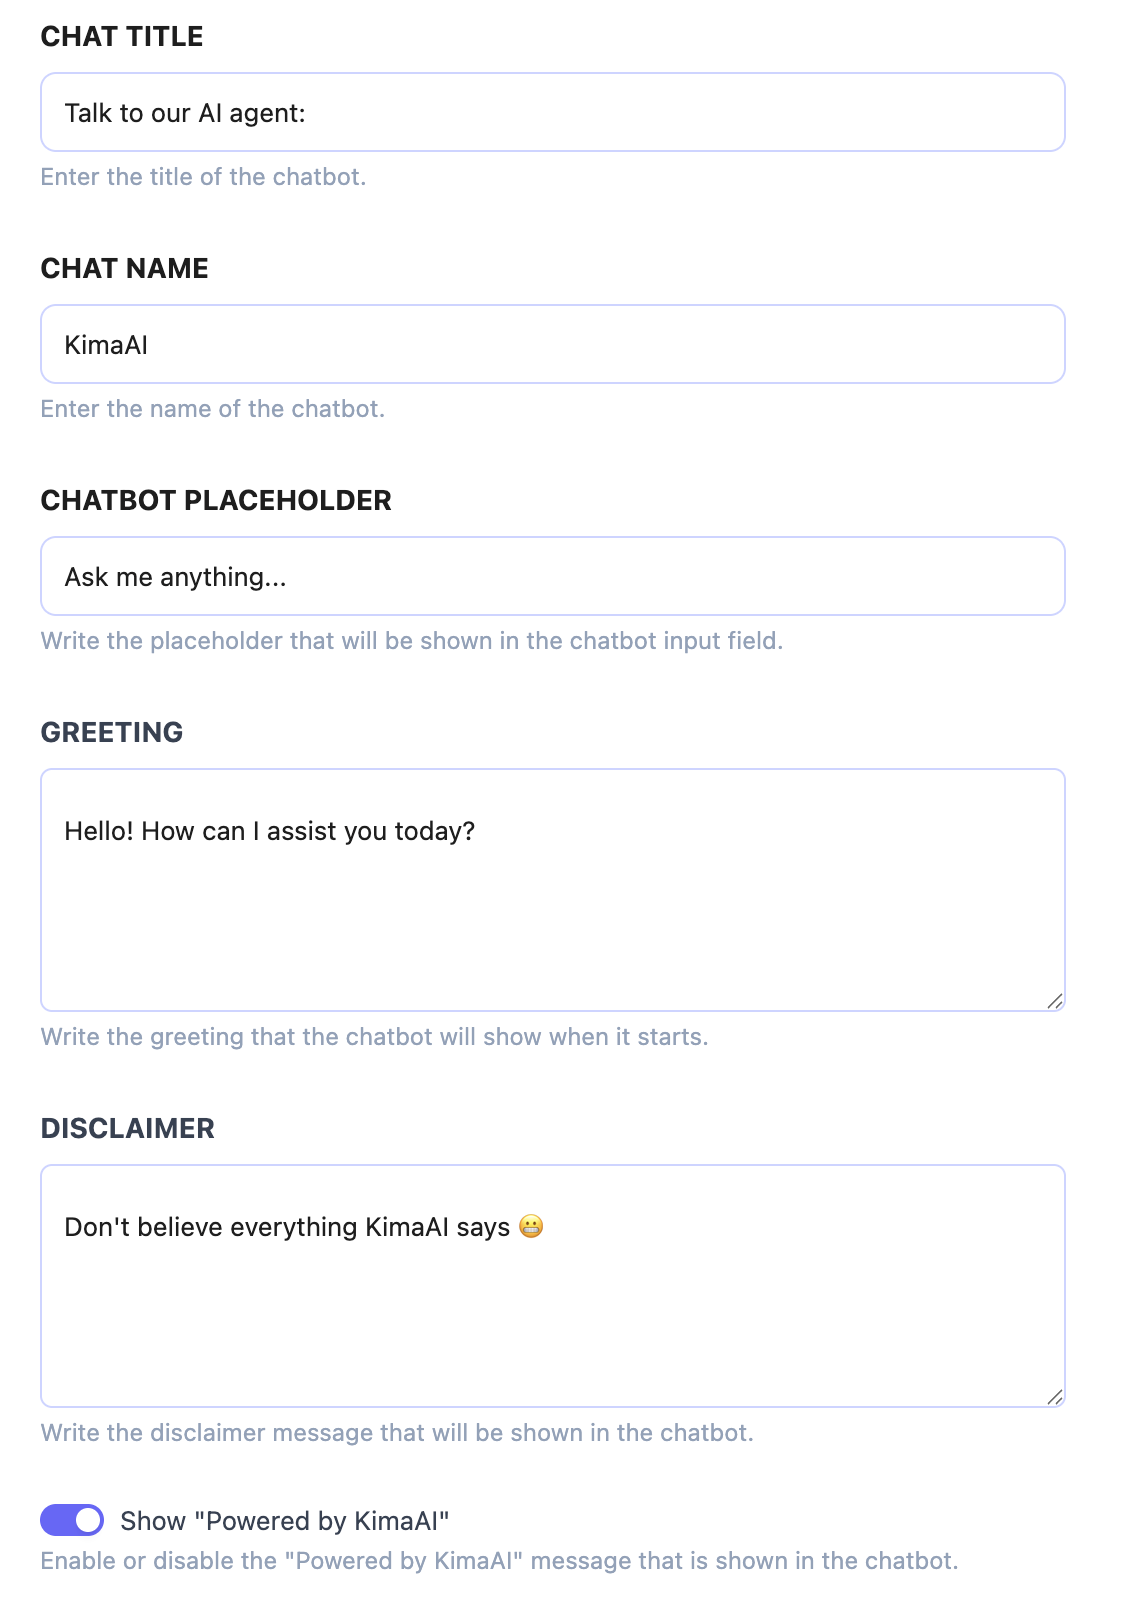
Chatbot Wording
In the next section, you can configure the AI chatbot widget wording. As you can see, you can edit all the chatbot strings, like chat title, chat name, input placeholder, etc.
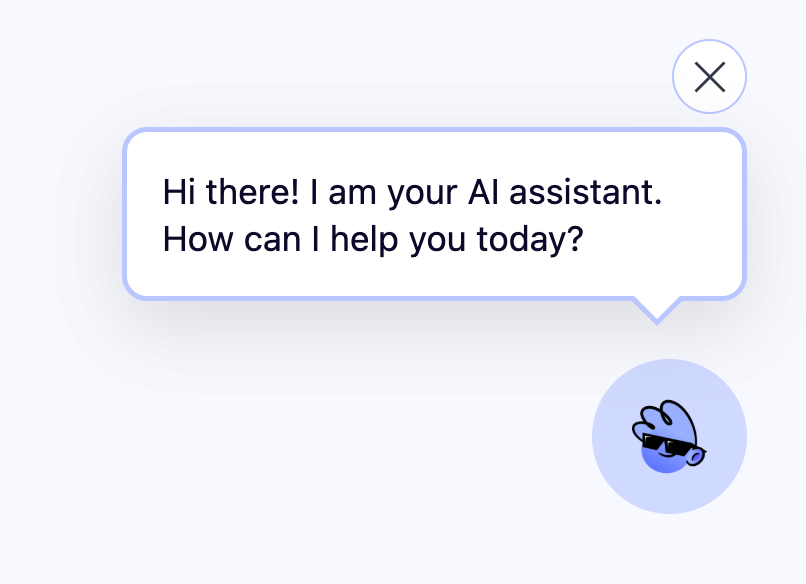
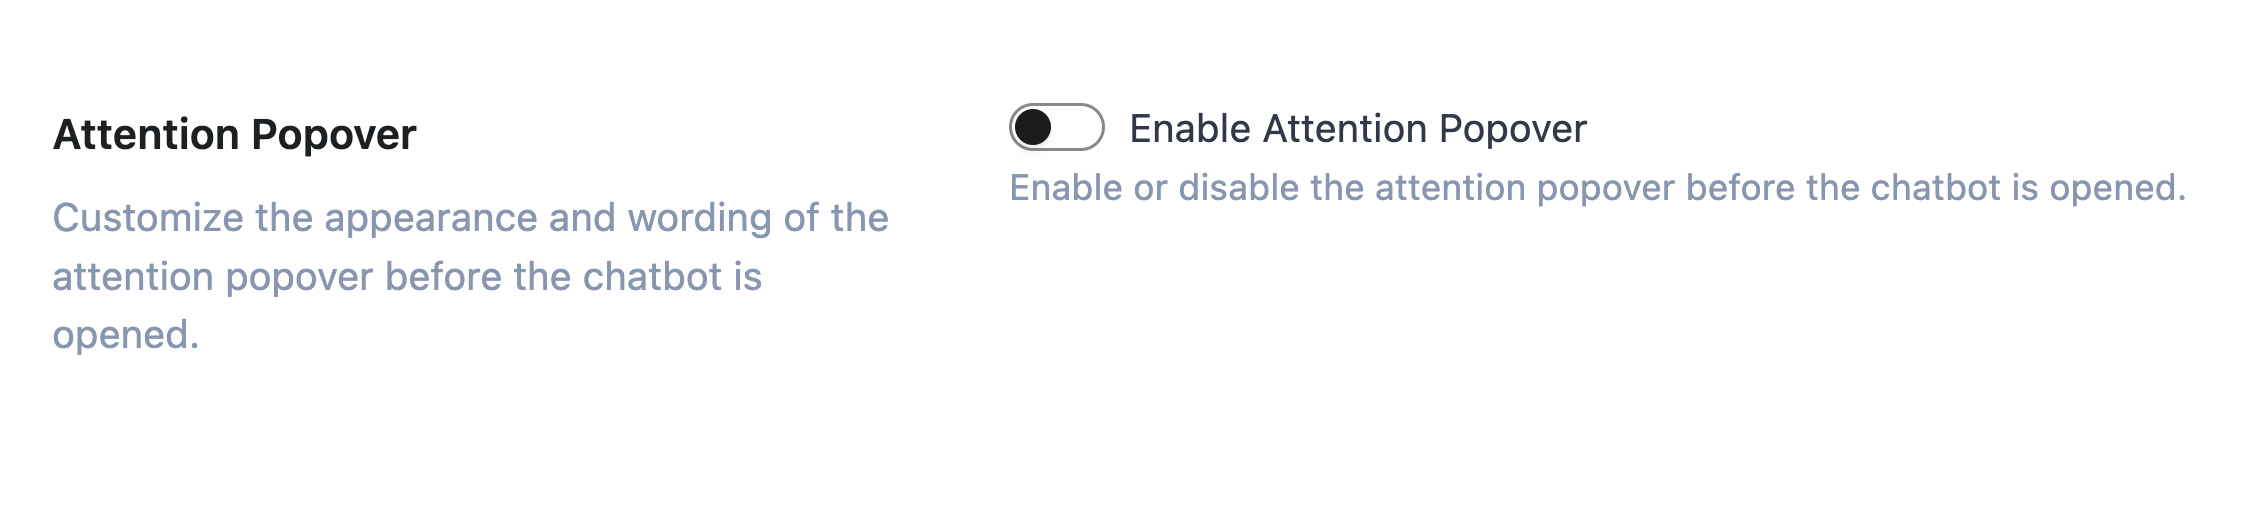
Attention Popover
Before we get to know this setting section, I like to tell you why we implemented the Attention Popover for the Chatbot widget. To be honest, users tend to ignore almost every widget on a website, unless they really need them or they are aware of them, so with the Attention Popover feature, you can tell your users → Hey! There is a helpful and friendly AI assistant here! and it’s ready to help you with any issue you might have 😃
Now, the Attention Popover is disabled when you first install the plugin, but you can simply enable it by toggling the “Enable Attention Popover” setting.
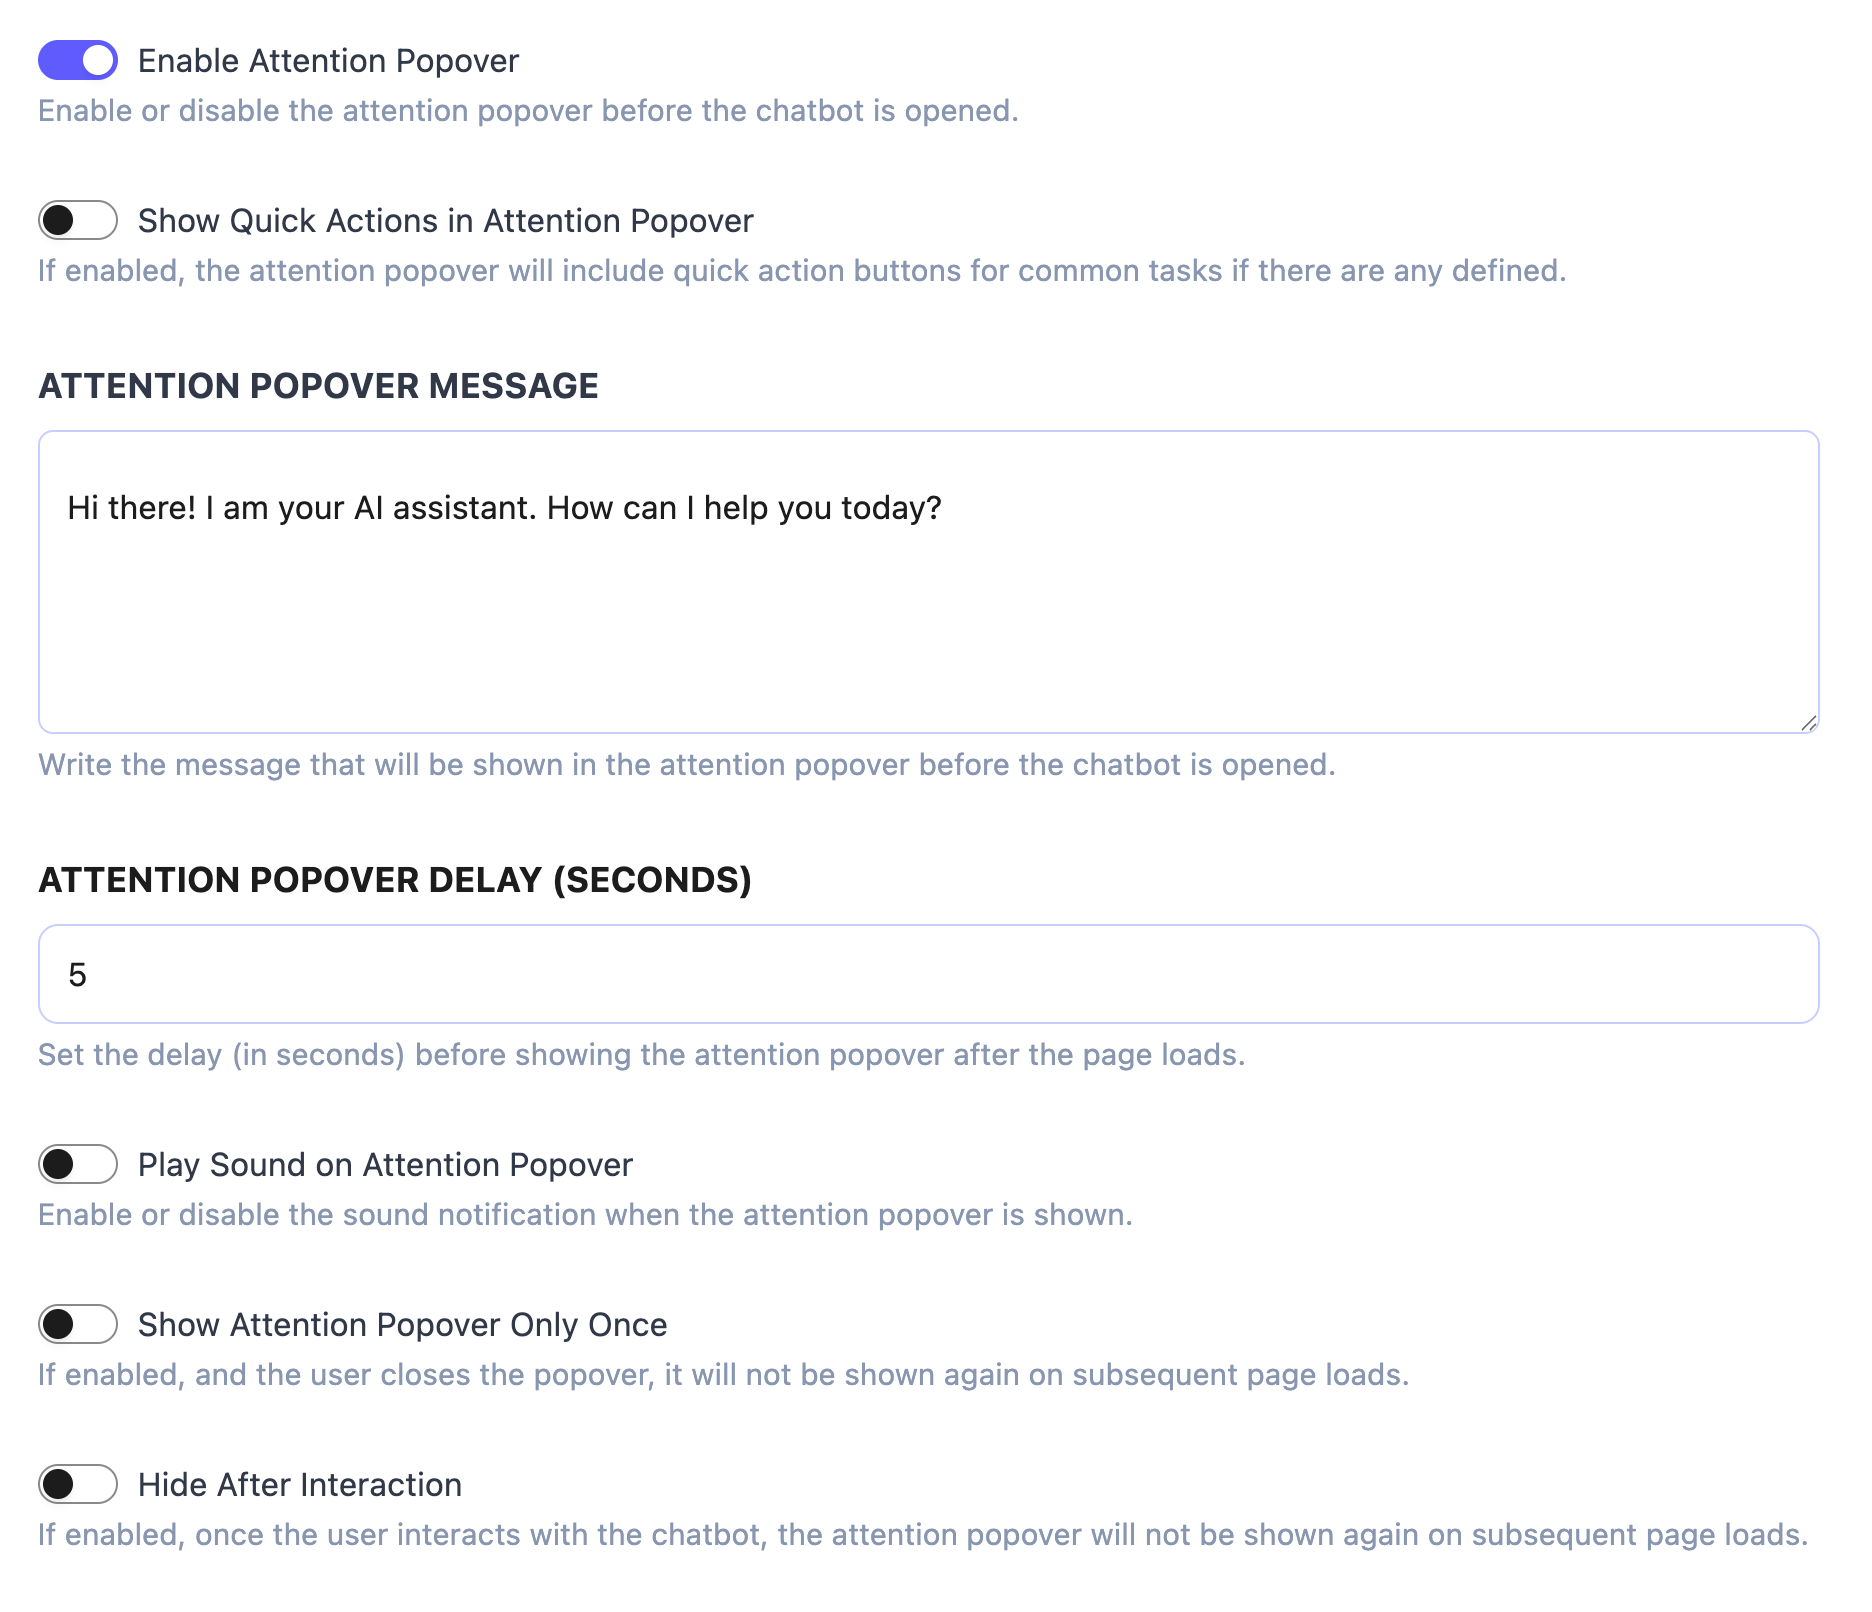
After enabling the Attention Popover, you will be able to see the other settings that you can configure.
Here is also a little preview of how would that look like: