Pinecone is one of the vector database services that KimaAI supports for creating a knowledge base. For now, we don’t need to buy a subscription plan for our use case, unless you really need it and you run a big business and need to create a big knowledge base.
The first thing that you need to do is to create an account by navigating to → https://www.pinecone.io
Click on the → Sign up button on the top right of the Pinecone website.
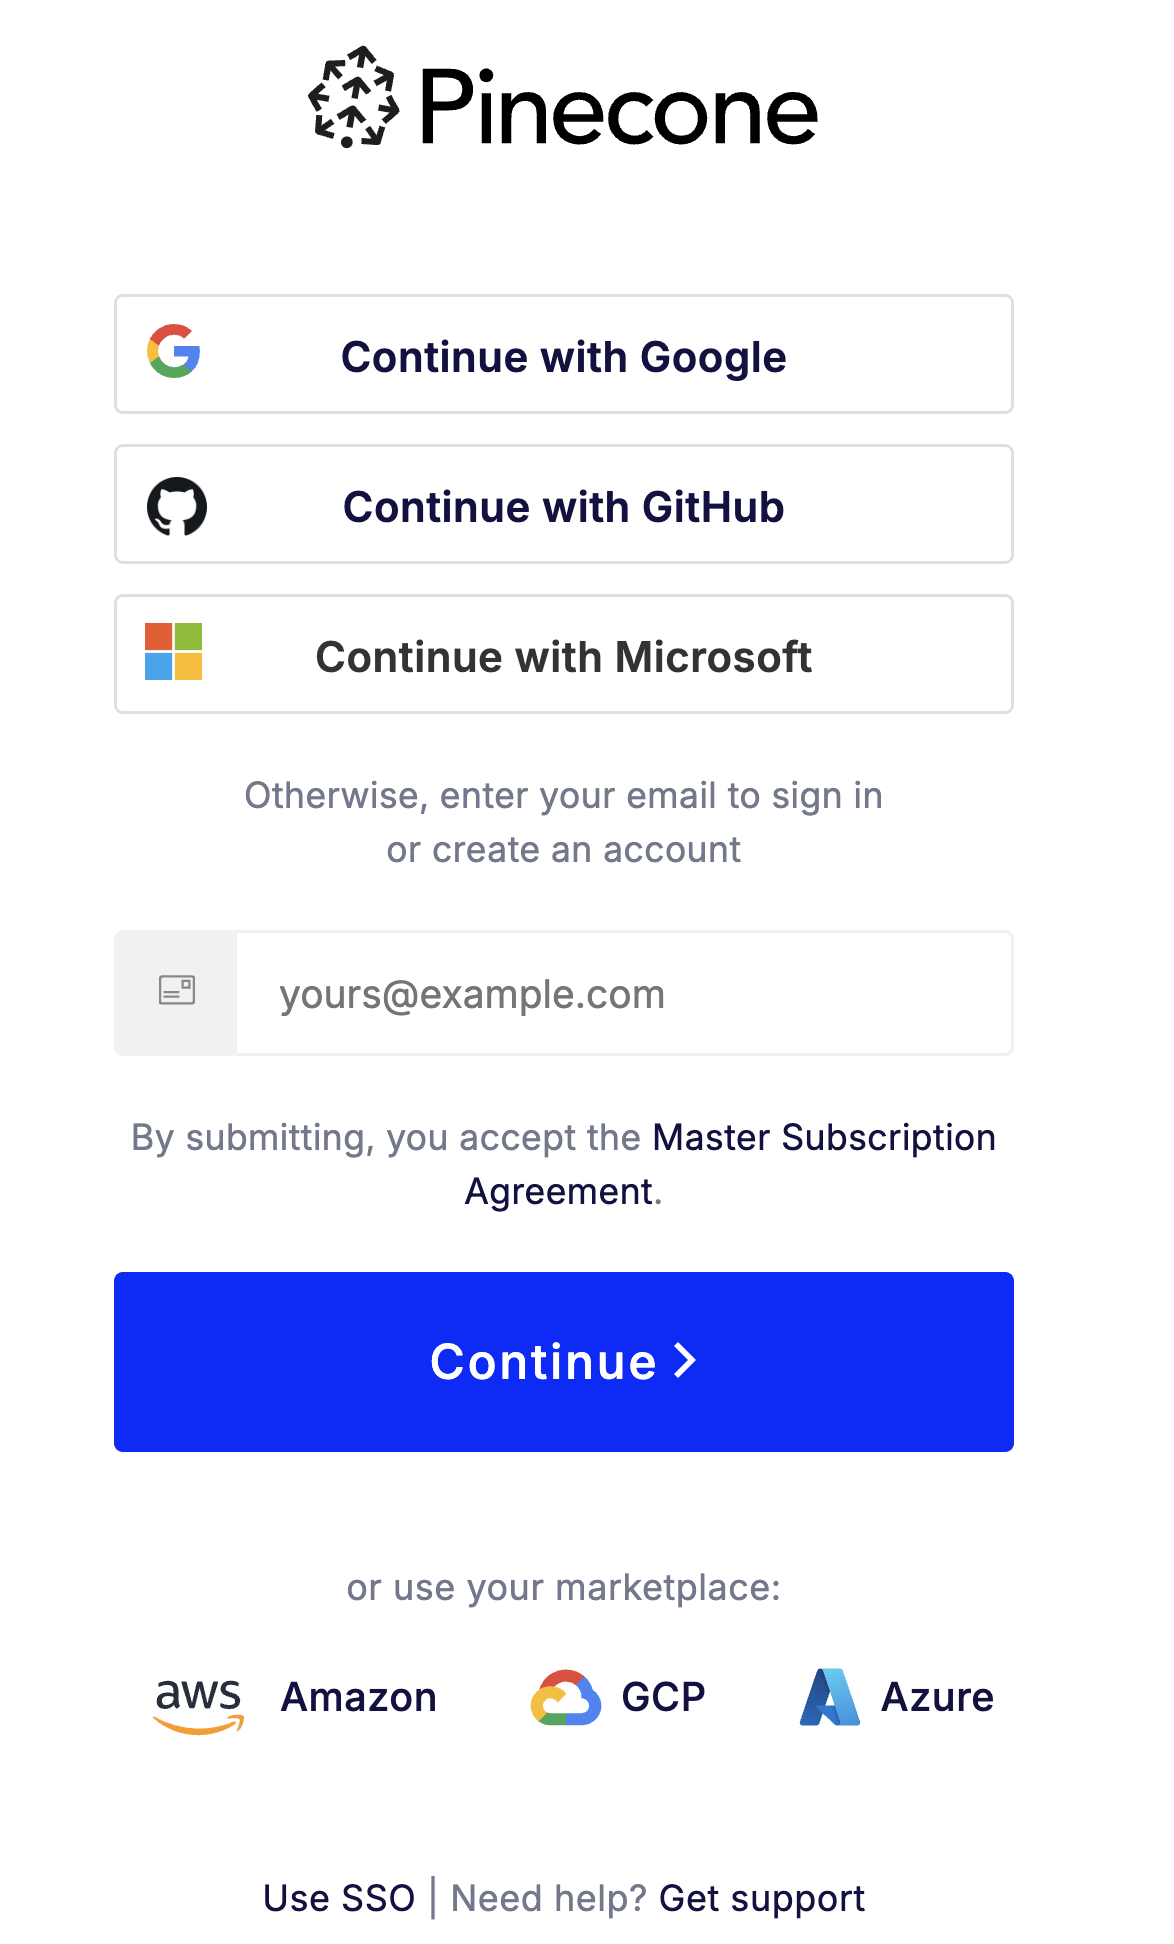
Now, as you can see in the above screenshot, you can create an account via your Google/GitHub/Microsoft account, which you can choose as you prefer.
Pinecone API Key
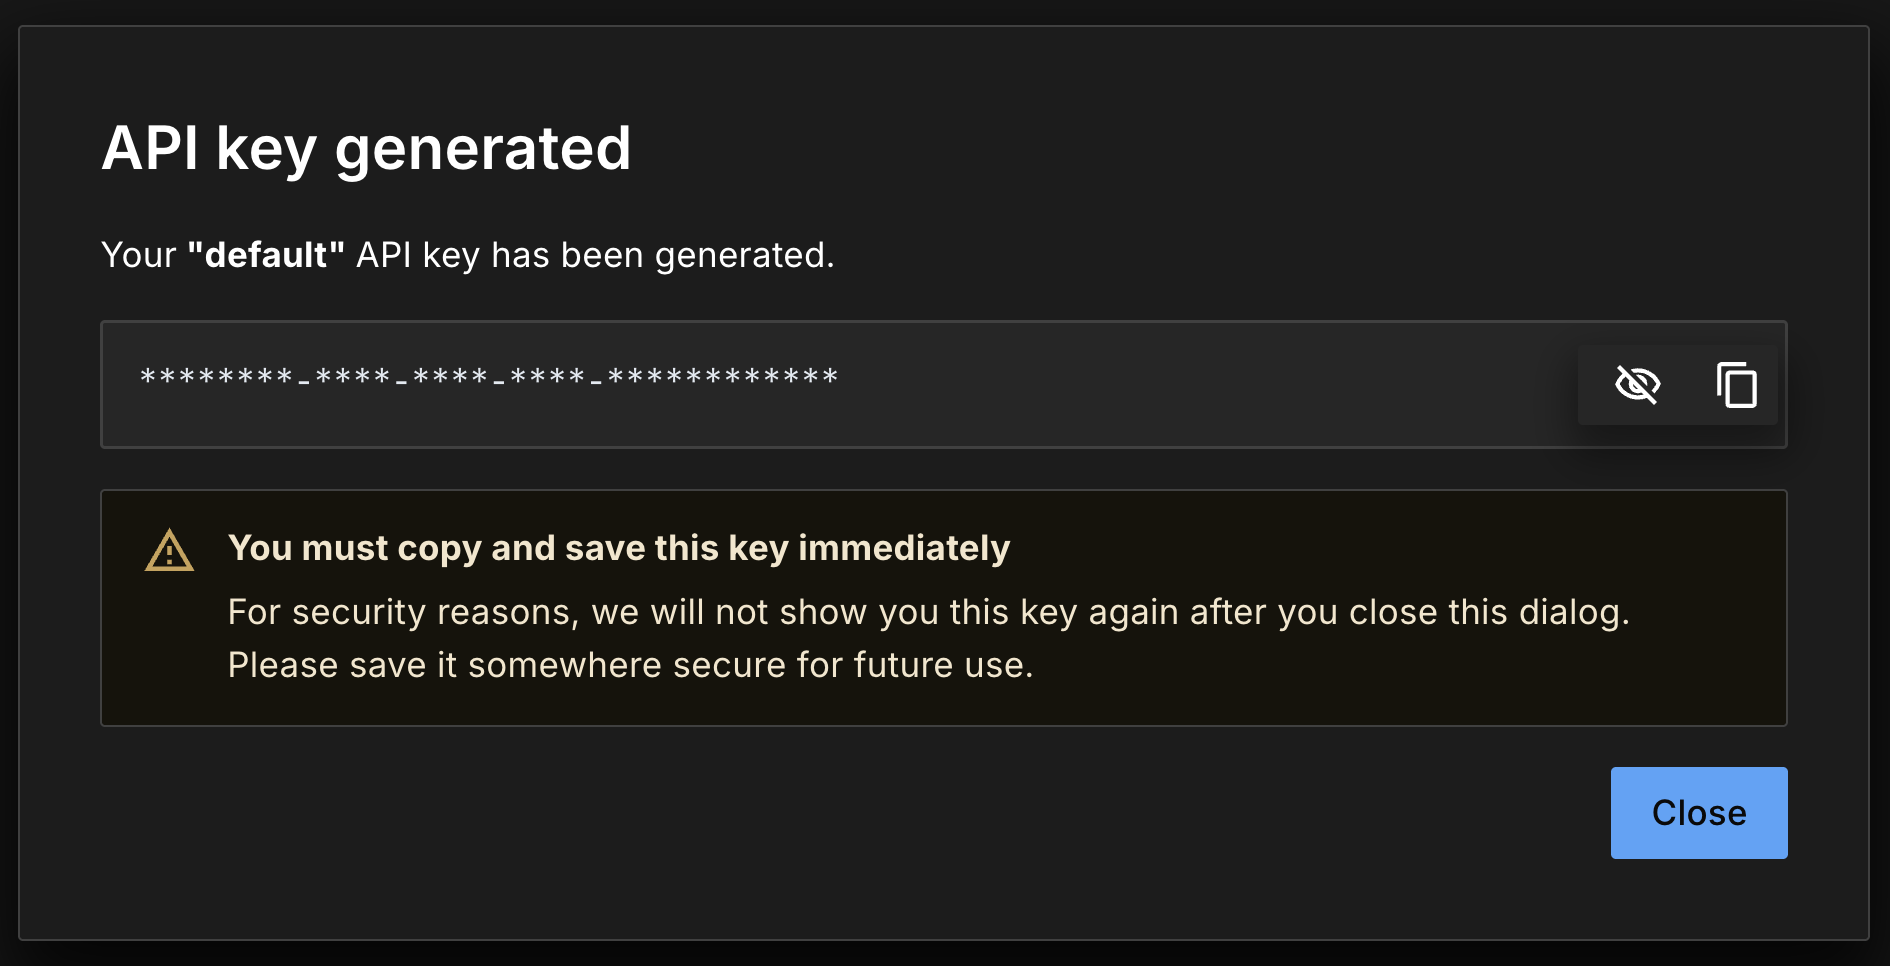
Right after you register, you will see the API key generated pop-up like the following:
Copy the Pinecone API key
Click on the copy icon to copy the api key, and save it somewhere because we will need it later.
Pinecone API Keys Dashboard
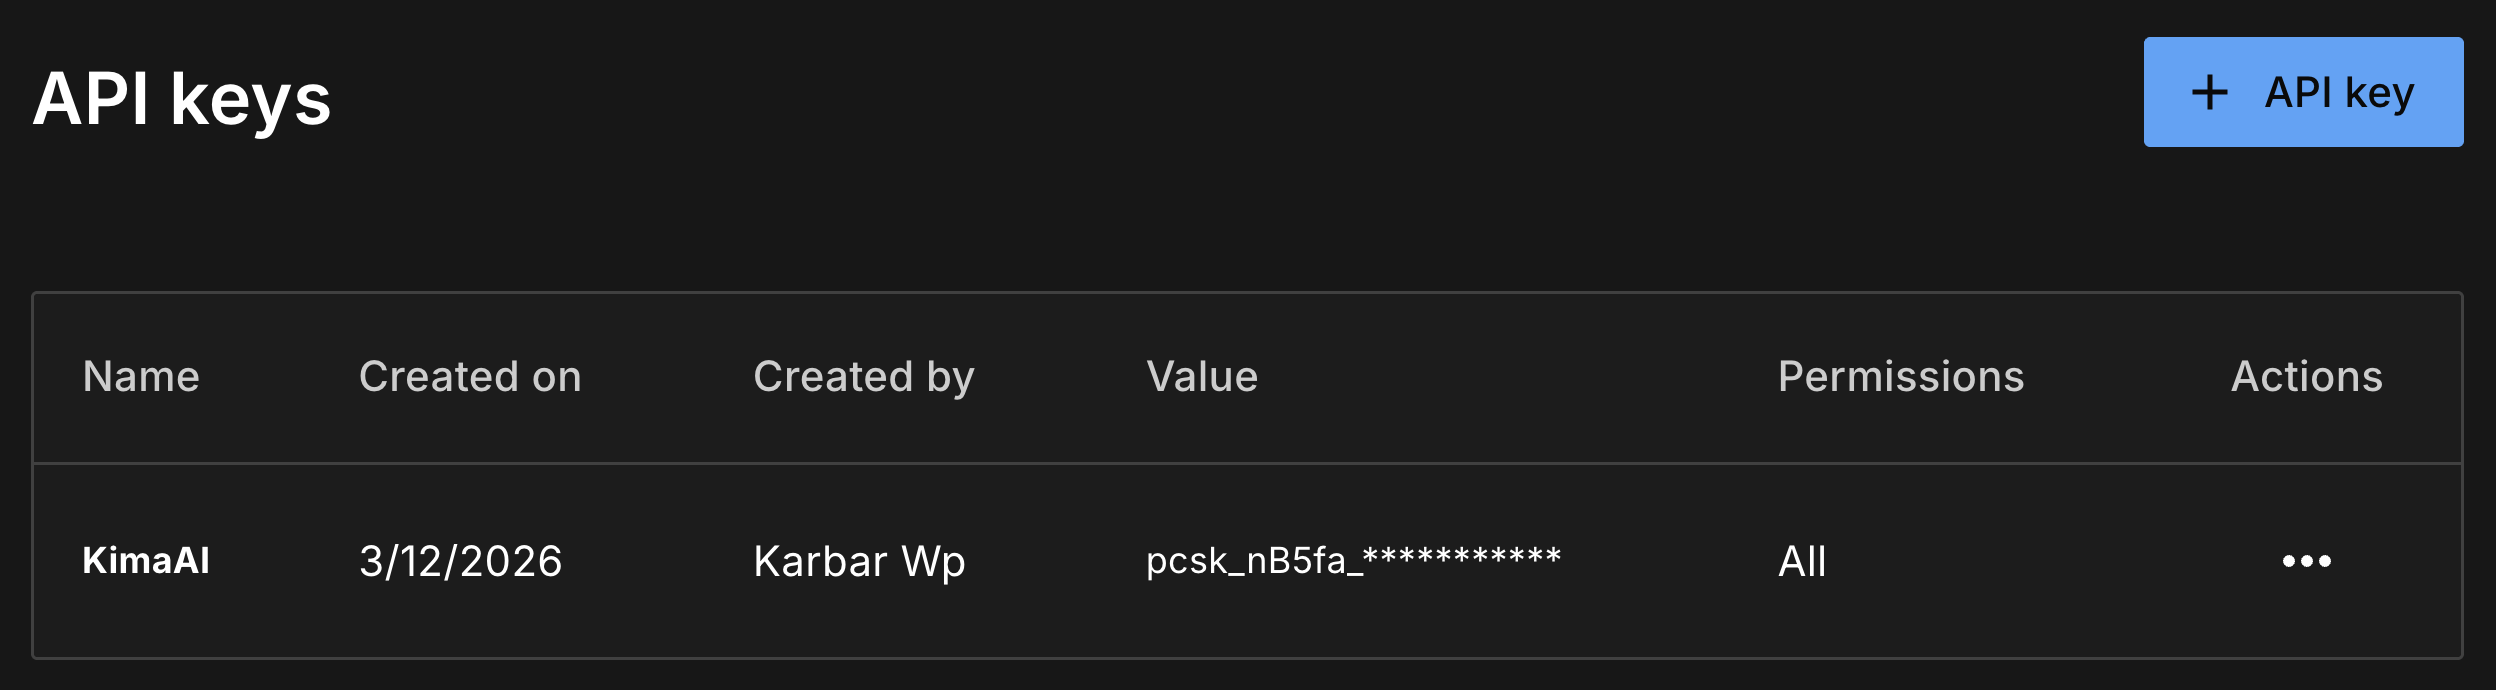
In case you missed it, or you want to manage your Pinecone API keys. In the Pinecone dashboard on the left-hand side, you can see → API keys. Click on it and you will see a screen like the following:
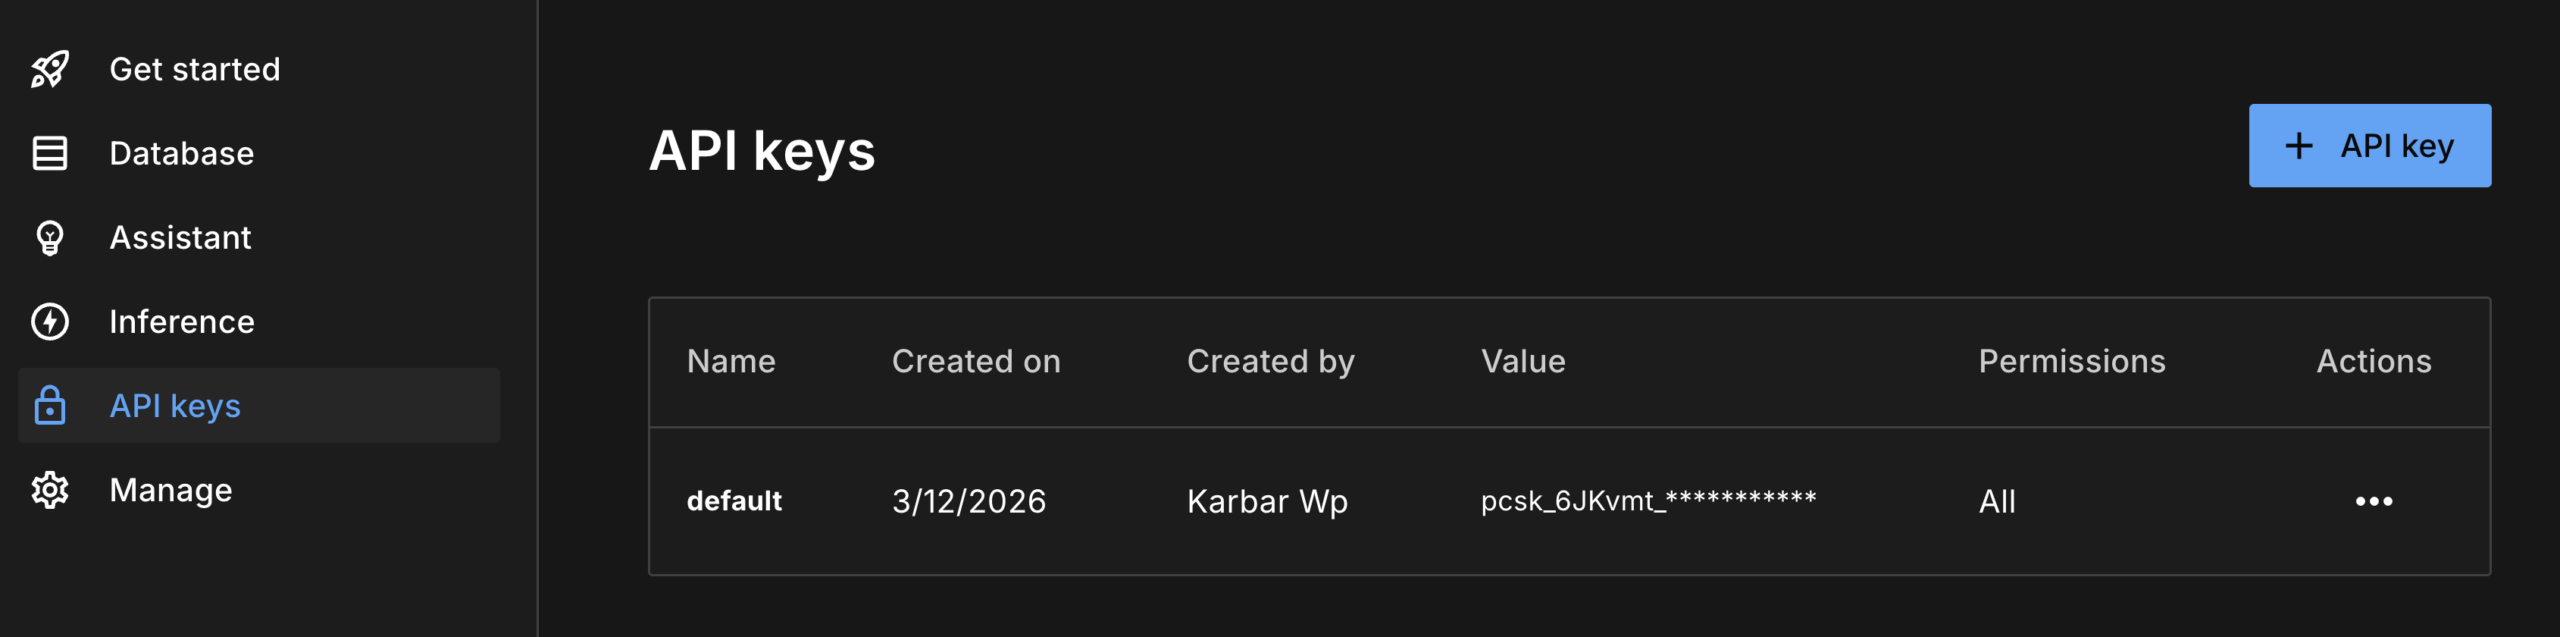
Now, you can remove the default API key by clicking on the 3 dots under the actions, and create a new key by clicking on the “+ API key” button.
After doing so, you can see the following pop-up, give the API key a name, and then click on the “Create key“.
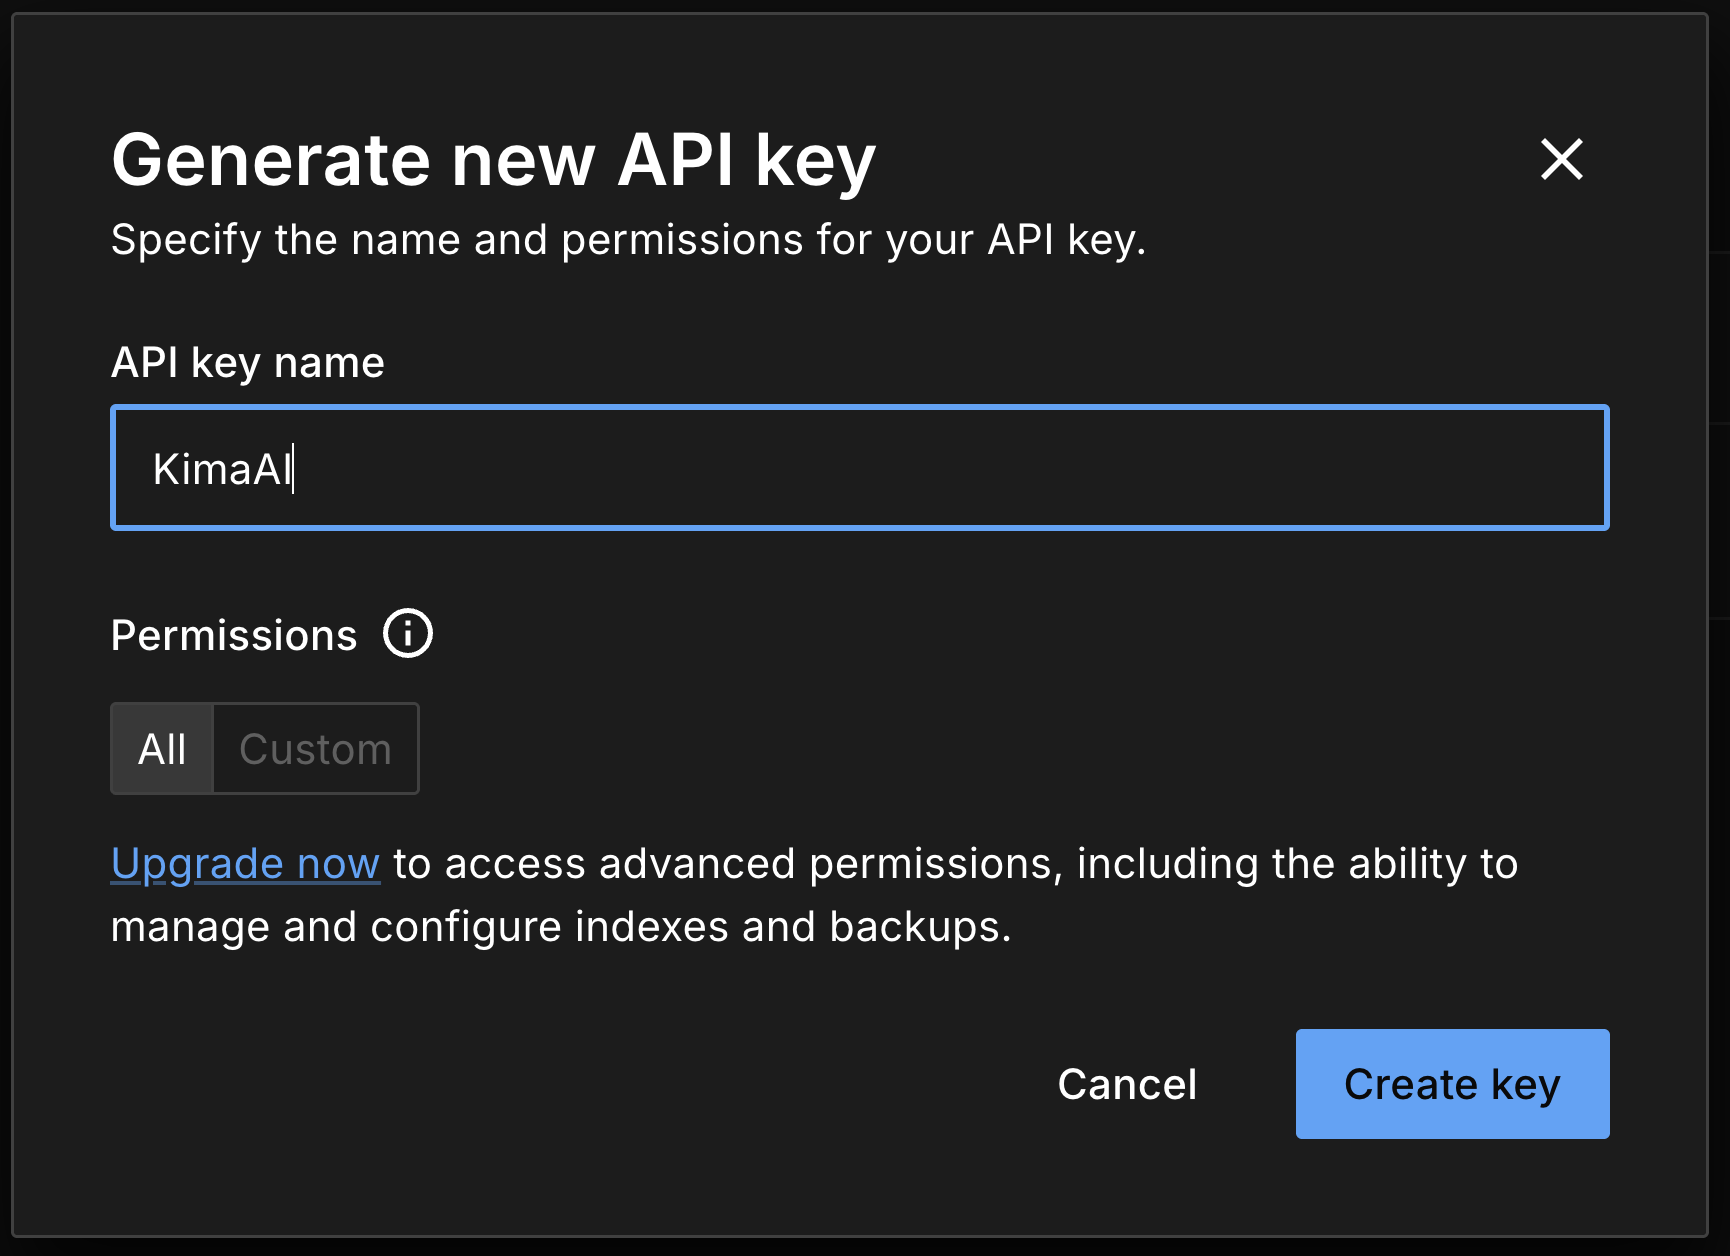
Now you should copy the API key and save it somewhere, we will need it later for our KimaAI connection configuration.
Create your first index in Pinecone
Inside the Pinecone dashboard, go to → Database → Indexes.
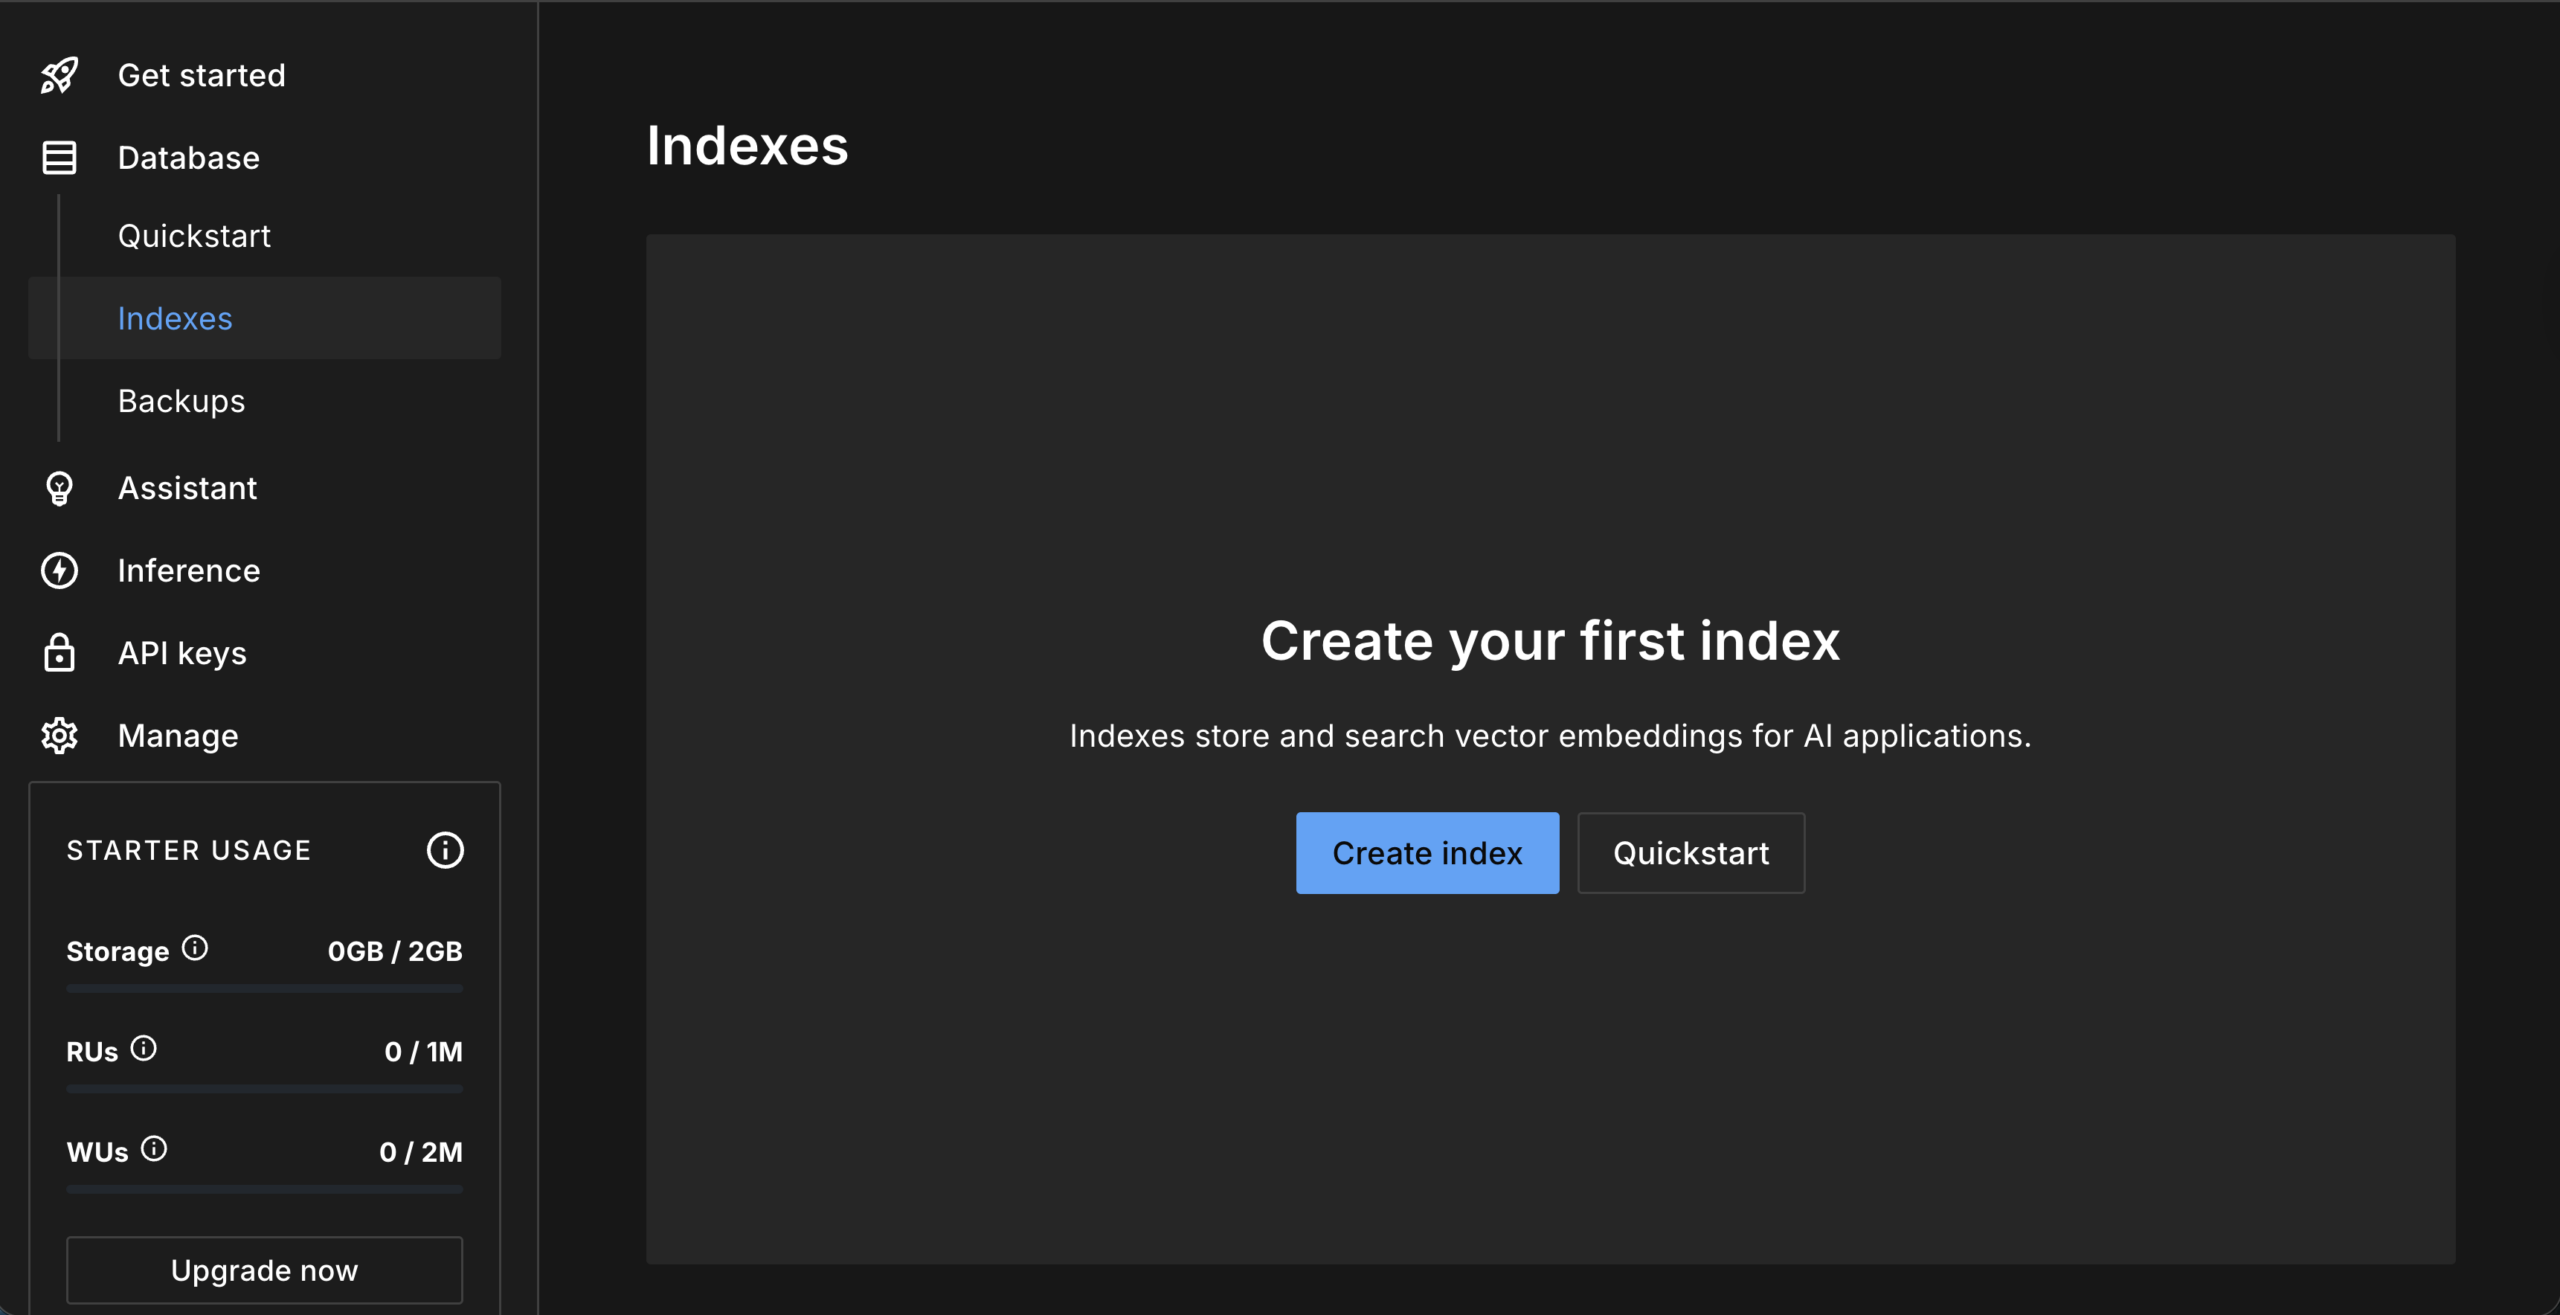
Click on the Create index button. Then you will see a new window like the following:
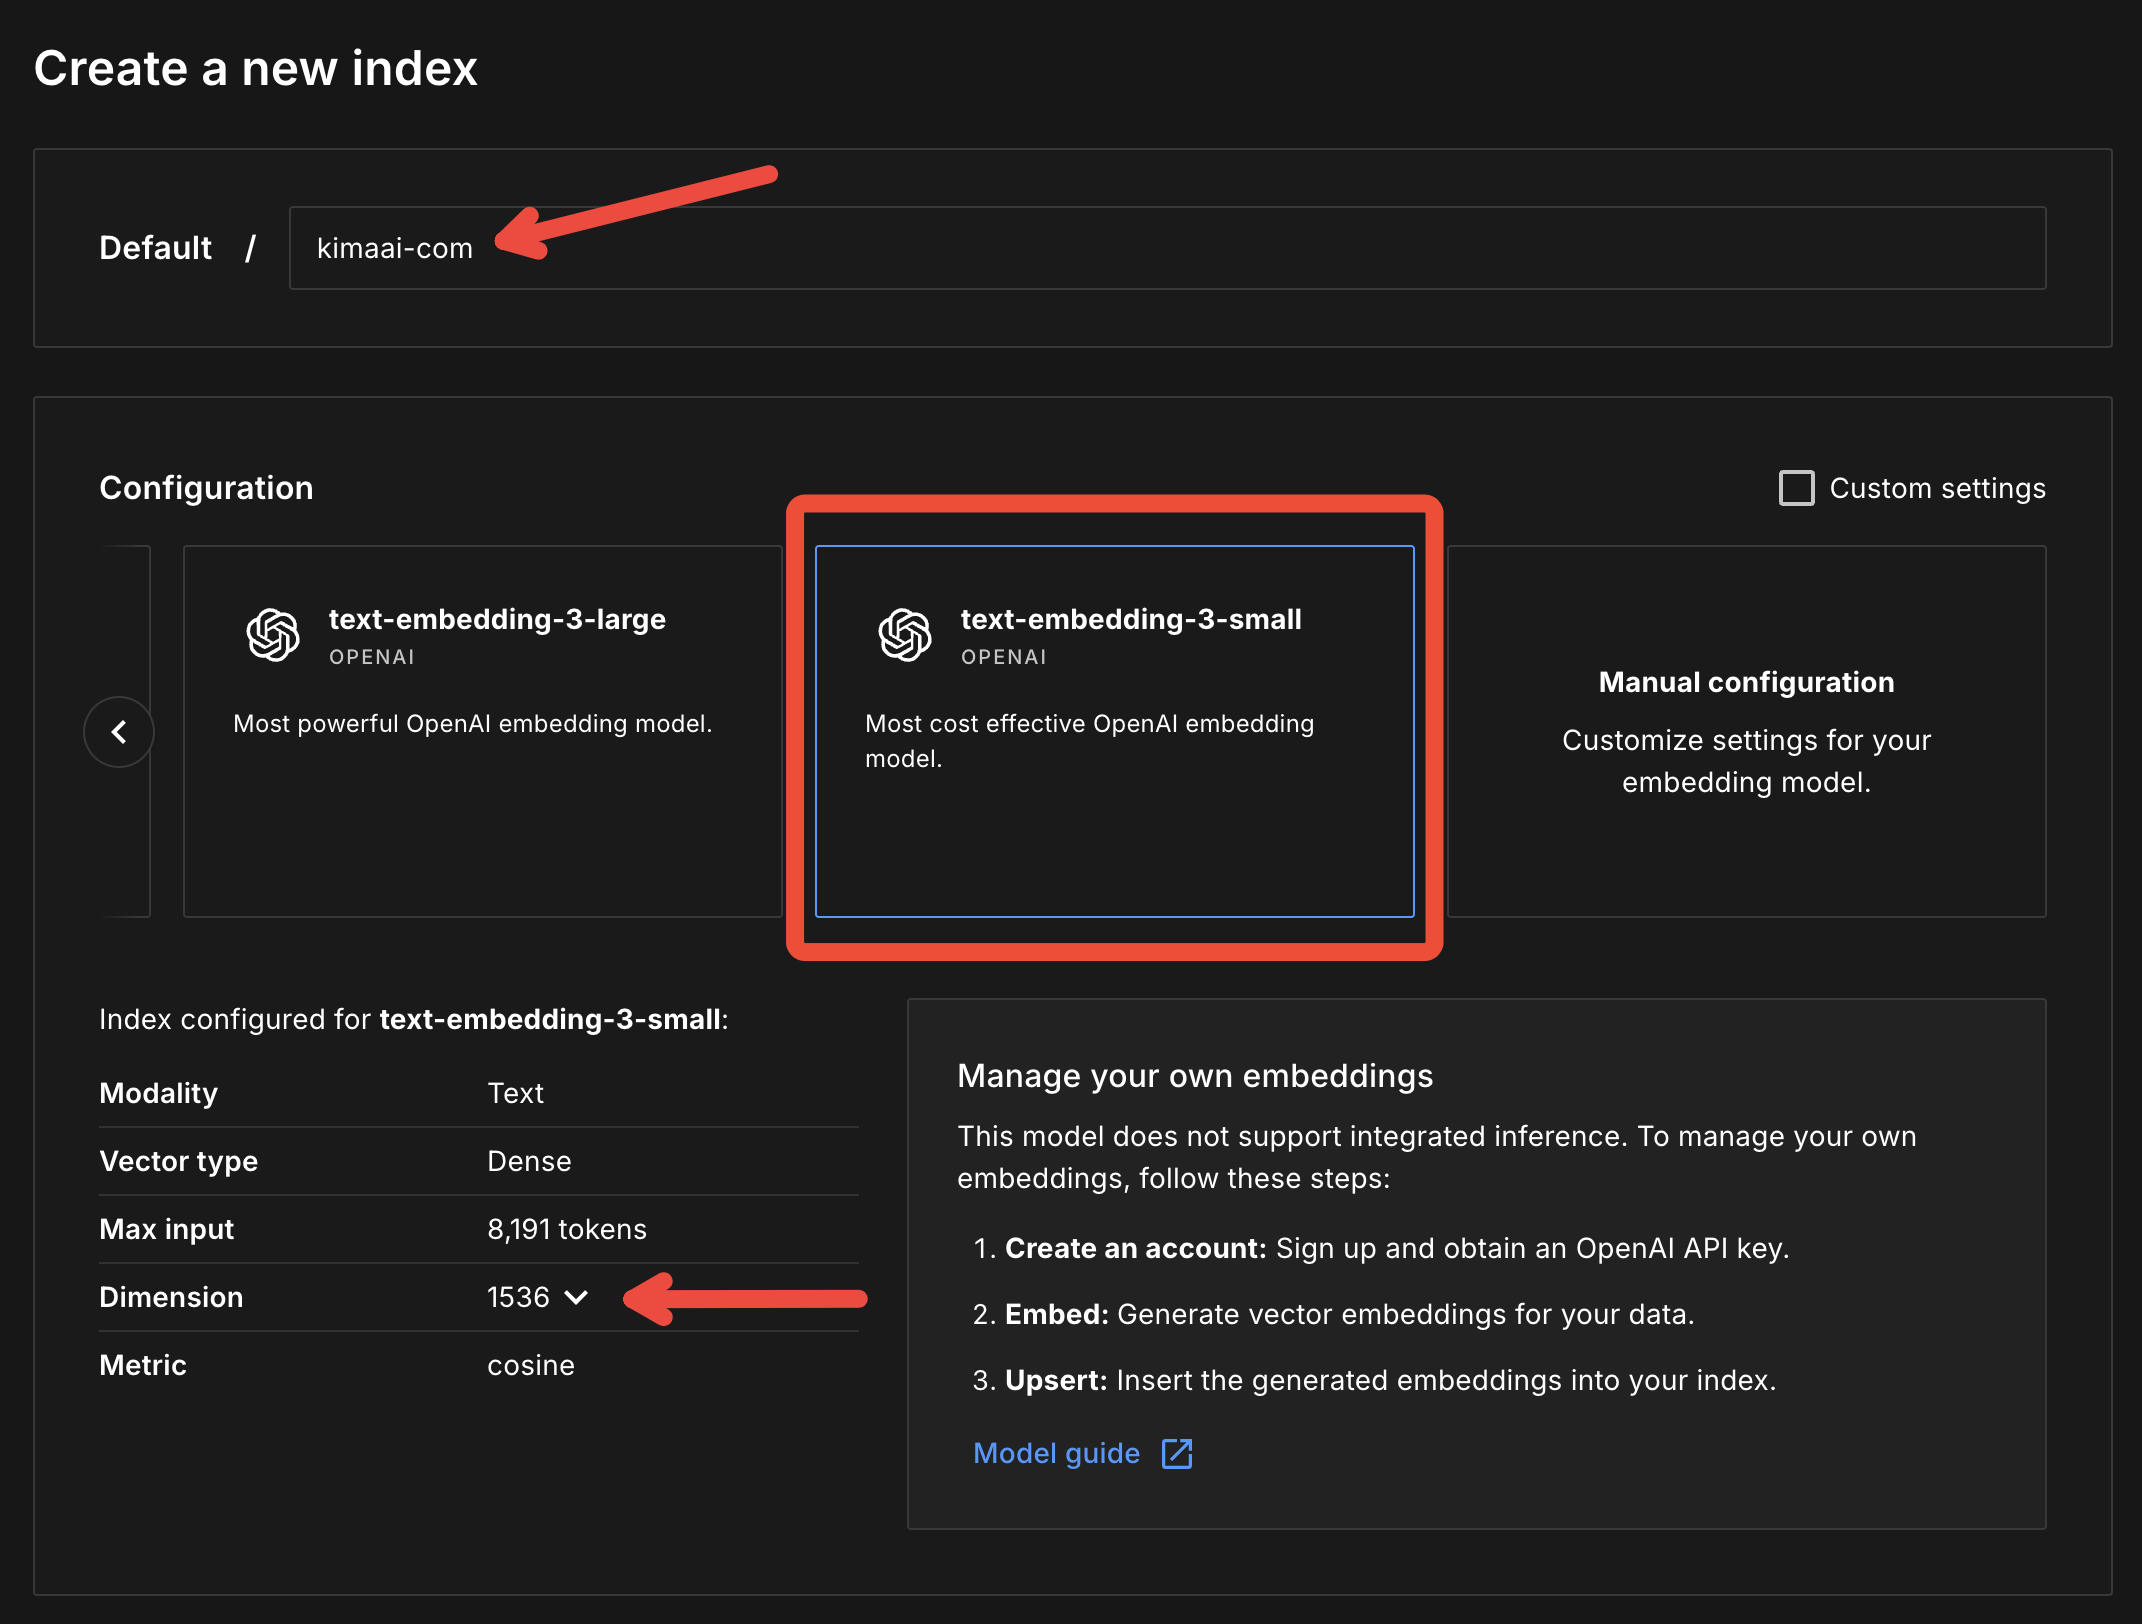
Create the index exactly like the following – For better understanding → check out the above screenshot, and pay attention to the red arrows and rectangle.
- Index Name: Give the index a name, exactly like this: if your website URL is example.com → go with
example-com - Configuration: Between the models and configuration, find → text-embedding-3-small and choose it.
- Dimension: Choose
1536as the dimension.
At the end, click on the ” Create Index ” button.
Now you should see an index being created like the following, and if everything is done correctly up to this point, we can jump off to the next step.
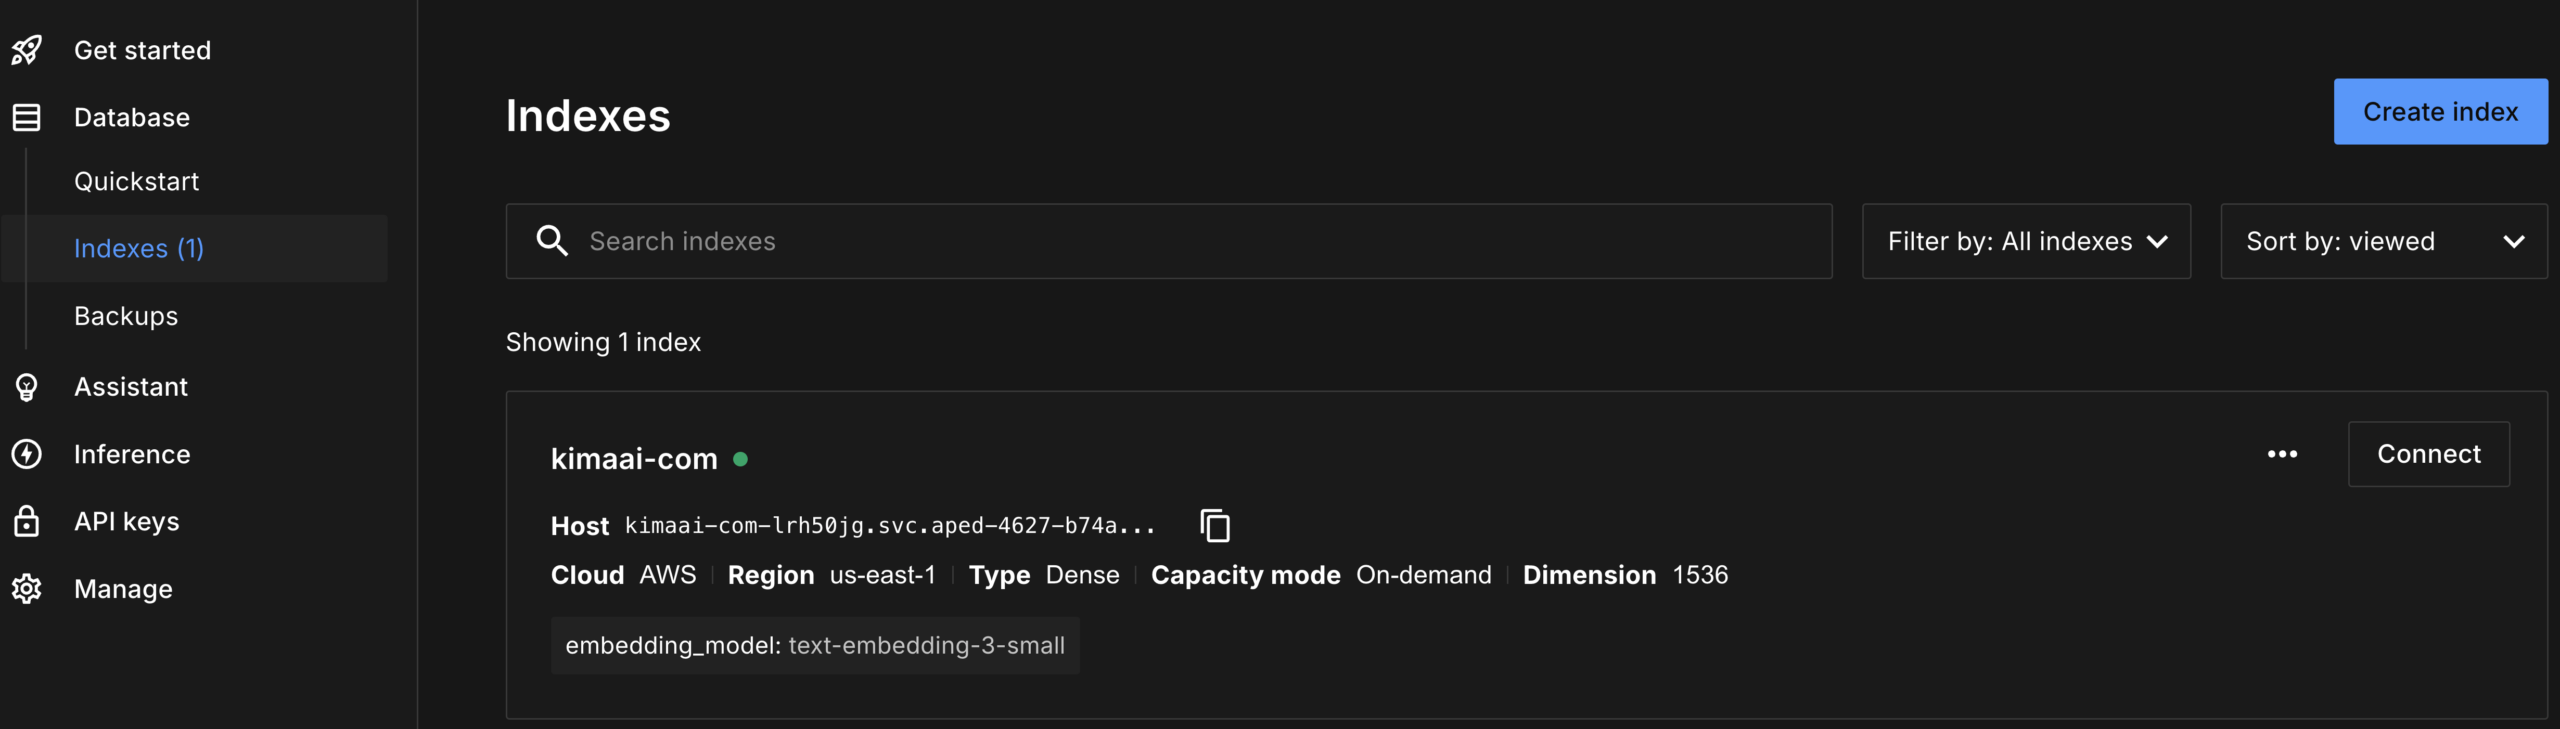
Connect KimaAI to Pinecone
Now it’s time to connect the Pinecone to KimaAI. For that, go to → WordPress dashboard → KimaAI Settings → Embedding → Embed Envs.
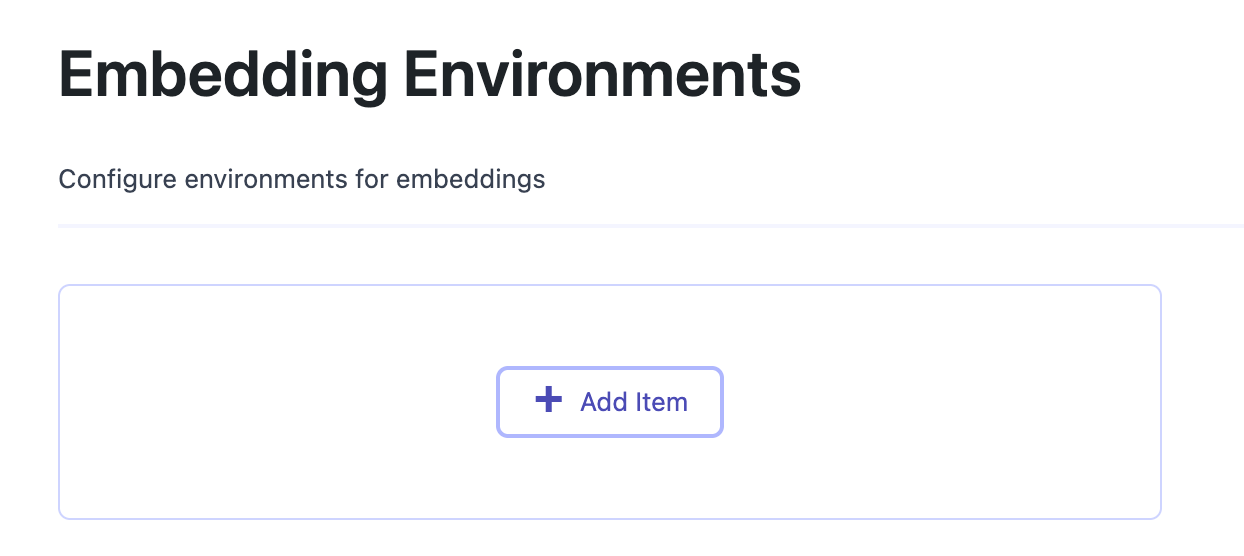
Click on “Add Item” to see the following settings:
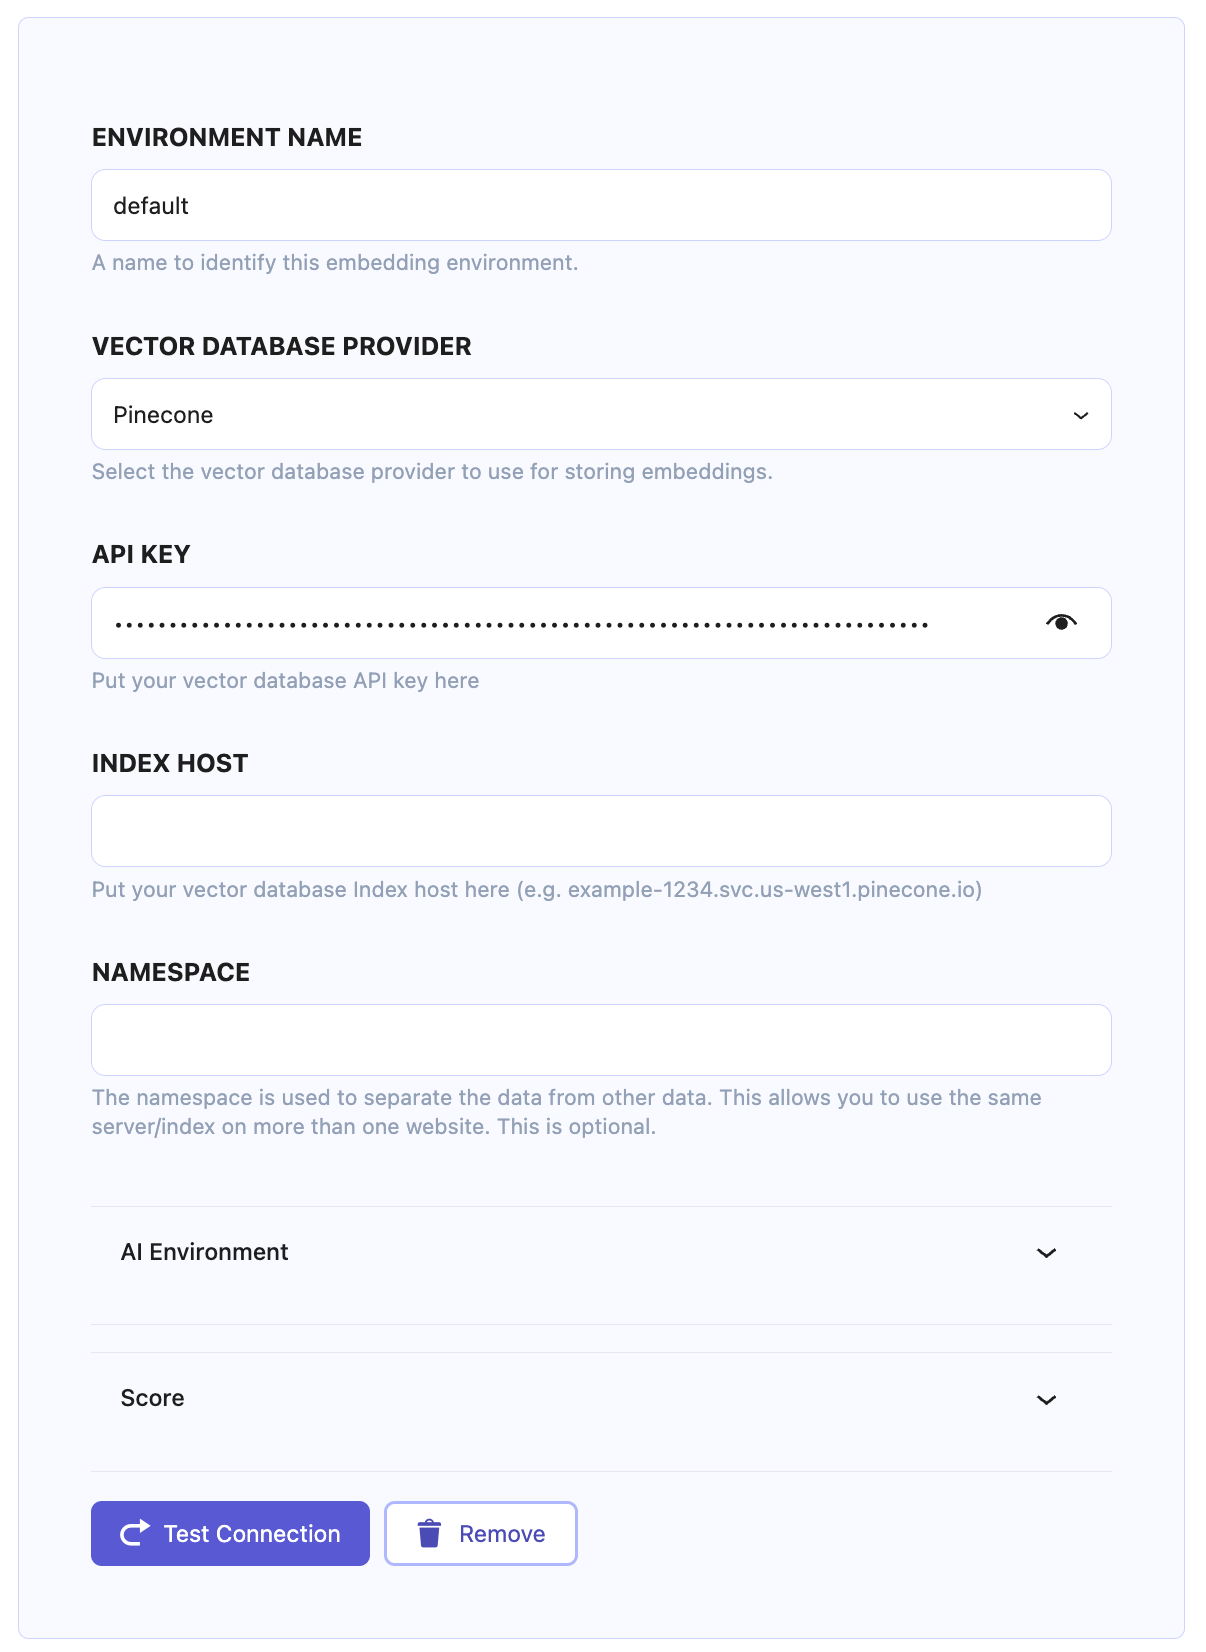
Now, put your API key and Index Host in the respective fields and hit the “Text Connection” button.
Choose the AI environment
Open up the AI Environment tab in the Embedding Environment settings, like the following:
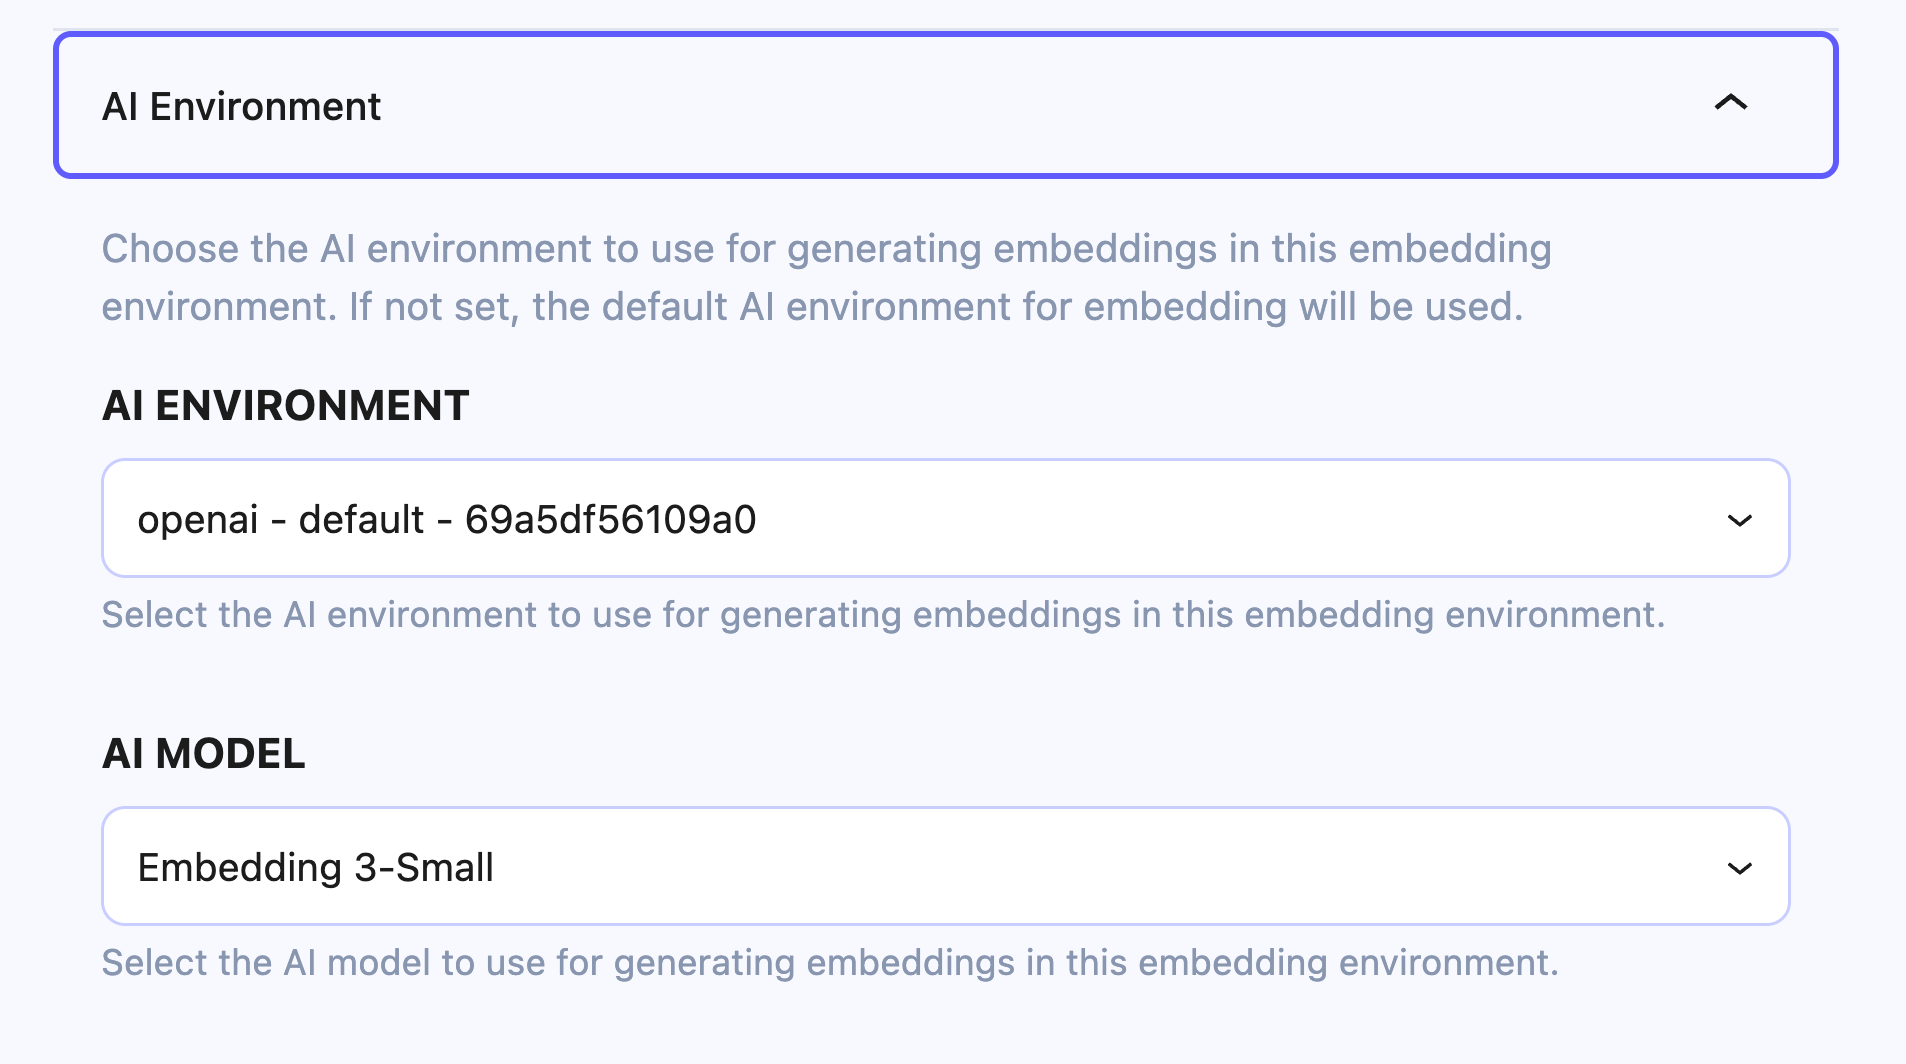
- AI Environment: In this select field, you will see all the AI environments that you created here → AI Services, Choose one. (OpenAI is recommended)
- AI Model: Choose an embedding model from the list. The Embedding 3-Small model is a good choice (Good price and acceptable quality)
Now hit the save button.
Important: We already have a detailed documentation page, and in that page, we show how to configure the KimaAI Embedding and how to convert your posts/pages or any other post type of your website into an embed and store them in the vector DB provider. Check this document here → https://kimaai.com/docs/embeddings/


