Welcome! In this guide, we will walk through the process of creating your first AI chatbot or AI assistant with KimaAI.
Do not worry if you are new to AI or not coming from a technical background. The goal of this tutorial is to make everything clear, practical, and easy to follow.
Before we begin, make sure you have already installed and activated the KimaAI plugin on your WordPress website. If you have not done that yet, please start with the → How to Install and Activate KimaAI Plugin guide. According to the documentation, installation is done from the WordPress Plugins screen by searching for KimaAI, installing it, and activating it.
First, let’s understand how KimaAI works
Before configuring anything, it is helpful to understand what KimaAI actually does.
KimaAI is not its own AI model. Instead, it acts as a connection layer between your WordPress website and external AI providers such as OpenAI and Replicate. In simple terms, KimaAI gives you a control panel inside WordPress where you can connect AI services, choose models, manage settings, and turn those services into useful features for your website.
That means the quality of the chatbot’s answers does not depend only on the plugin itself. It also depends on the provider you choose, the model you use, and the instructions and settings you configure. If a response feels off, the cause is usually the model configuration or prompt setup rather than the plugin itself. KimaAI’s role is to send the request, receive the response, and give you tools to shape the experience.
KimaAI is built for both site owners and developers. If you want a chatbot that is easy to launch, the plugin gives you a fast setup path. If you are more advanced, we also support hooks, internal APIs, and custom tools.
If you need any assistance or have questions, feel free to contact our support team. We’re here to help!
Free vs Pro Version
KimaAI comes in both Free and Pro versions. The free version lets you get started, while Pro plans unlock additional Pro features along with updates and support based on your license tier. Some features are more advanced, so it is a good idea to start with the core setup first and then expand later as needed.
In this guide, we will focus first on the essential setup steps that get your chatbot running. After that, we will look at the settings that help transform it from a basic chatbot into a more useful AI assistant for your website.
After installation: where to access KimaAI
Once the plugin is installed and activated, you will see the KimaAI menu in your WordPress dashboard. This is where you will manage the plugin settings, connect AI providers, customize the chatbot, and enable or disable features. You can access the main settings page directly from the WordPress admin area.
The Setup Wizard
After activating the plugin, the first thing you will usually see is the KimaAI Setup Wizard. This wizard is designed to help you get the chatbot running as quickly as possible. This is the fastest path to a working setup, especially for first-time users.
If you want the quickest route, follow the wizard.
If you prefer to understand each part of the configuration in more detail, you can close the wizard and continue manually through the plugin settings. Both approaches work. The wizard is simply there to make the first setup easier. If you reopen the wizard after configuring settings, it may overwrite parts of your previous configuration, so it is best used at the beginning of setup.
What the Setup Wizard does
The wizard helps you:
- connect your first AI provider
- add and test your API key
- choose the chatbot provider and model
- launch the chatbot
- configure basic appearance settings such as icon and colors
If you ever close the wizard and want to open it again, the docs provide a direct admin URL for it in your WordPress dashboard. For more information and tutorials, please see the KimaAI Setup Wizard document.
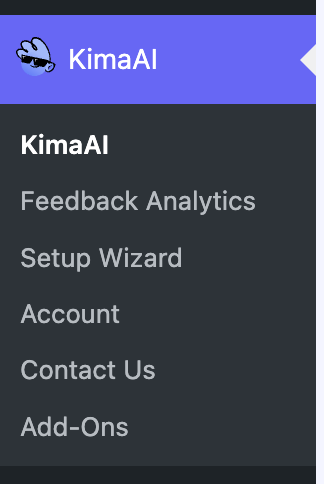
KimaAI settings page navigation
As shown below, you can access the plugin’s settings page in the WordPress dashboard navigation. Click on the “KimaAI” menu to be redirected to the settings page, or navigate to the → https://example.com/wp-admin/admin.php?page=kimaai URL.
Step 1: Create your AI environment
Before the chatbot can respond, KimaAI needs an AI environment.
An AI environment is where you connect the plugin to an external AI provider using your API key. Under AI Services, KimaAI currently includes an AI Environments section for adding providers and an AI Presets section for assigning providers and models to different use cases like chat, image generation, and embeddings.
When you first open the settings page without an AI environment configured, you may see a notice reminding you that one still needs to be created. That is expected.

For most users, the recommended provider to start with is OpenAI. The Setup Wizard and AI Services docs both recommend OpenAI as the best starting point, and many plugin features are designed to work smoothly with it.
Step 2: Get your OpenAI API key
To use OpenAI with KimaAI, you need your own OpenAI account and API key.
Ok, now to get the OpenAI API Key, we created a dedicated document. Please check out → Set up Your OpenAI Account and API Key page, and when you get your API, come back here, we will wait for you 🙂
Step 3: Add your first AI environment
Now go to: WordPress Dashboard → KimaAI → Settings → AI Services → AI Environments
Click Add Item and fill in the required fields:
- Name: choose a simple ID-style name with no spaces or special characters
- Provider: choose the AI provider, such as OpenAI
- API Key: paste the API key you created
Then click Test Connection. If everything is correct, you should see a successful connection message. After that, click Save Changes to store the environment. Remember that testing the connection alone is not enough; you should also save the changes.
At this point, KimaAI is connected to an AI provider.
We also have a dedicated document that shows you, step by step, how to create an AI Env and configure the AI presets. Please check out → AI Services, for more information about this step.
Step 4: Configure AI Presets
Once your AI environment is ready, the next step is to configure AI Presets.
KimaAI uses presets so different AI features can use the right provider and model without forcing you to reconfigure everything each time. The presets are:
- Default Preset
- AI Chat Preset
- AI Image Preset
- AI Embedding Preset
This is useful because your chatbot, image generation, and embeddings may not always use the same model or provider. For example, you want one model for chat and another for embeddings. KimaAI uses these presets as defaults unless you override them in a specific feature’s settings.
For now, the most important preset is the AI Chat Preset, because that is what your chatbot will use unless you specify something different in the Chatbot Settings page. Please check out → AI Services, for more information about this step.
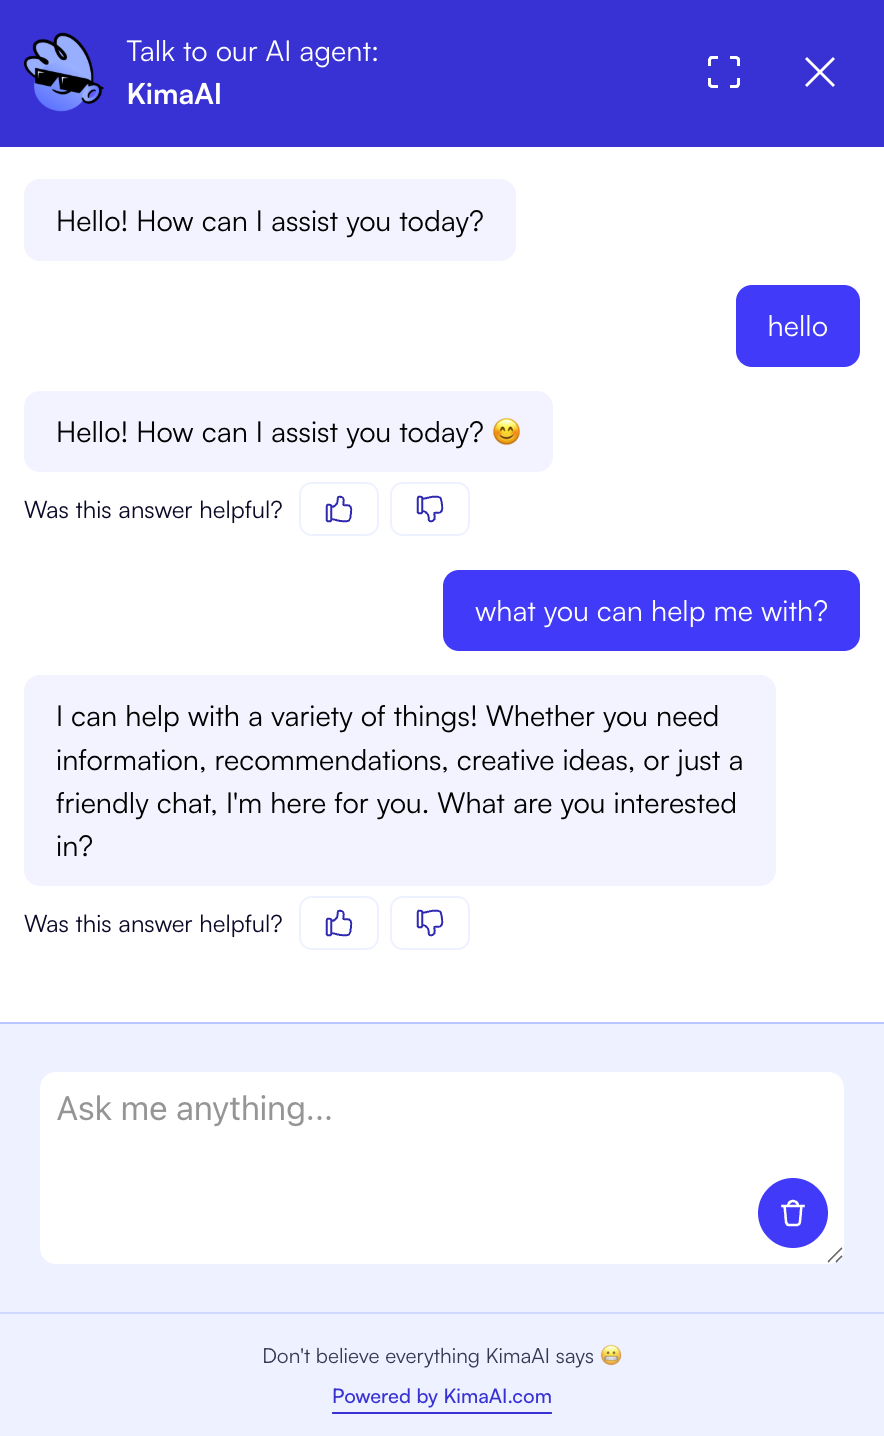
Step 5: Test the chatbot
At this point, your chatbot can already work. Visit the front end of your website, click the chatbot widget, and send a simple message such as: Hello
If your AI environment and chat preset are configured correctly, the chatbot should respond. This is the first practical test after setup.
That is a great milestone because it confirms the full connection is working: Your website → KimaAI → AI provider → chatbot response.
But wait, and please read the following notice carefully.
Important Notice: Your chatbot is now active and able to respond, but this is only the beginning.

At this stage, the chatbot is using a basic setup and has not yet been fully customized for your website or business. To turn it into a truly helpful AI assistant, you still need to fine-tune its behavior, improve its wording, adjust its appearance, and configure the settings that help it understand your content and guide your visitors more effectively. The chatbot instructions, content awareness, knowledge/vector settings, quick actions, and other controls are what shape the assistant into something much more useful than a default chatbot.
Please continue with the next steps in this guide to transform this basic chatbot into a smart, reliable assistant tailored to your website.
Step 6: Configure Chatbot Settings
Now that the chatbot is working, it is time to improve it. Go to: WordPress Dashboard → KimaAI → Settings → Chatbot
The Chatbot Settings page is where you define how the assistant should behave. This section includes settings for the provider and model, advanced options, chatbot instructions, content awareness, function tools, vector database integration, user feedback, security controls, GDPR consent, and more.
AI Provider and Model
You can choose a specific provider and model for the chatbot here. If you leave this empty, the chatbot uses the defaults from your AI Presets. The docs also note that different models can expose different options, such as temperature, verbosity, or reasoning-related settings.
Advanced Settings
This section includes options such as streaming, max tokens, and max input length. These settings are more technical, so if you are just getting started, you can leave them at their defaults and return later if needed.
Chatbot Instructions
This is one of the most important parts of the setup.
The chatbot instruction is the system prompt that tells the model how to behave and how to respond to users. This is where you can define your tone, your business context, the types of questions the assistant should answer, and any rules it should follow.
A good instruction can make a huge difference.
For example, instead of letting the chatbot answer in a very general way, you can tell it:
- Who it is
- What your business does
- What kind of help should it provide
- What topics should it avoid
- How it should respond when it is unsure
That is how you begin turning a general chatbot into a business-focused assistant.
Content Awareness
KimaAI also includes a Content Awareness setting. When this is enabled, the chatbot can be aware of the page or post the visitor is currently viewing. That allows it to answer questions related to the current page content.
This is extremely useful because it makes the assistant feel more relevant and contextual.
For more detailed information about this topic, please check out the Chatbot Settings document page.
Step 7: Customize the chatbot appearance
A good assistant should also look like it belongs on your website. Go to: WordPress Dashboard → KimaAI → Settings → Chatbot Appearance
This section lets you control the global chatbot toggle, position, widget icon, custom icon URL, spacing from the screen edges, color settings, chatbot wording, and the Attention Popover feature.
What you can customize
You can:
- enable or disable the chatbot globally
- position it on the left or right side
- choose a built-in icon or use your own logo
- adjust widget spacing so it does not overlap with other floating elements
- set brand colors
- edit wording such as the title and placeholder text
If you only want the chatbot on specific pages, you can disable the global toggle and use the kimaai_chatbot shortcode where needed.
Attention Popover
We also have the Attention Popover option. This is a small prompt that helps draw attention to the chatbot, especially since many users ignore widgets unless they are clearly invited to use them. It is disabled by default, but you can enable and configure it if you want the assistant to be more visible.
For more detailed information about this topic, please check out the Chatbot Appearance document page.
Step 8: Add Quick Actions
Quick Actions are one of the easiest ways to improve user engagement. Go to: WordPress Dashboard → KimaAI → Settings → Chatbot Quick Actions
Quick Actions are predefined buttons that help users start interacting with the chatbot faster. These can appear at the start of a chat or after a bot message.
Examples of Quick Actions
Quick Actions can:
- open a link
- send a message immediately
- pre-fill the input field
- run a command or tool
This means you can create buttons like:
- Contact Support
- View Pricing
- Book a Call
- Tell me about your services
These small actions make the chatbot feel more guided and useful, especially for first-time visitors.
For more detailed information about this topic, please check out the Chatbot Quick Actions document page.
Step 9: Make the assistant smarter with Knowledge and Embeddings
If you want your assistant to answer more accurately using your website’s content, the next step is to configure the knowledge system.
The docs describe this under Knowledge (Embeddings – Vector DB). This feature lets you create an embedding environment, connect a vector database provider such as Pinecone or Qdrant, generate embeddings from your website content, and sync posts or pages into a searchable knowledge layer.
How it works
The setup flow is:
- Create an embedding environment.
- Choose a vector database provider such as Pinecone or Qdrant.
- Add the API key and test the connection.
- Choose the AI environment and embedding model.
- Save the settings.
- Sync your posts, pages, or custom post types.
- Use the query panel to test the results.
We recommend Pinecone Provider and text-embedding-3-small embedding model as a good balance of price and quality for embeddings.
This is one of the most powerful ways to make your assistant genuinely useful, because it helps the chatbot answer using your actual website content rather than relying only on general model knowledge.
For more detailed information about this topic, please check out the Knowledge (Embeddings – Vector DB) document page.
Step 10: Advanced feature — Tool Calling (optional)
KimaAI also supports Function or Tool Calling, which is an advanced feature.
Tool calling allows the model to select a structured tool request, then KimaAI and WordPress execute the underlying code and return the result to the model. In practice, this means the assistant can go beyond plain text responses and interact with real site logic or external systems.
This can be powerful for advanced use cases, but custom tools should only be enabled if you are comfortable writing and testing PHP safely, because poorly designed tools can break requests or expose sensitive functionality.
So for most beginners, this is something to explore later, not something you need for your first setup.
For more detailed information about this topic, please check out the Function or Tool Calling document page.
Step 11: Feedback, security, and consent
As your chatbot becomes more important, these settings are worth reviewing too.
The KimaAI plugin includes:
- Message Feedback and Session Feedback so you can learn whether users are happy with the answers
- Blocked IPs and forbidden words for security
- GDPR Consent so users can be required to accept consent before using the chatbot
These settings are especially helpful if your site has a high volume of traffic or operates in a more regulated environment.
Final thoughts
By now, you should have:
- installed and activated KimaAI
- connected your first AI provider
- created an AI environment
- configured presets
- tested the chatbot
- started customizing its behavior and appearance
- learned how to improve it with quick actions, content awareness, and knowledge features
The most important thing to remember is this:
A working chatbot is only the first step.
A useful AI assistant is something you build by refining the instructions, connecting the right data, and shaping the experience around your website and your visitors.
That is where KimaAI becomes really powerful.


