Now, in order to use the KimaAI plugin, you need to configure an AI service, which we recommend using OpenAI.
Create an OpenAI account
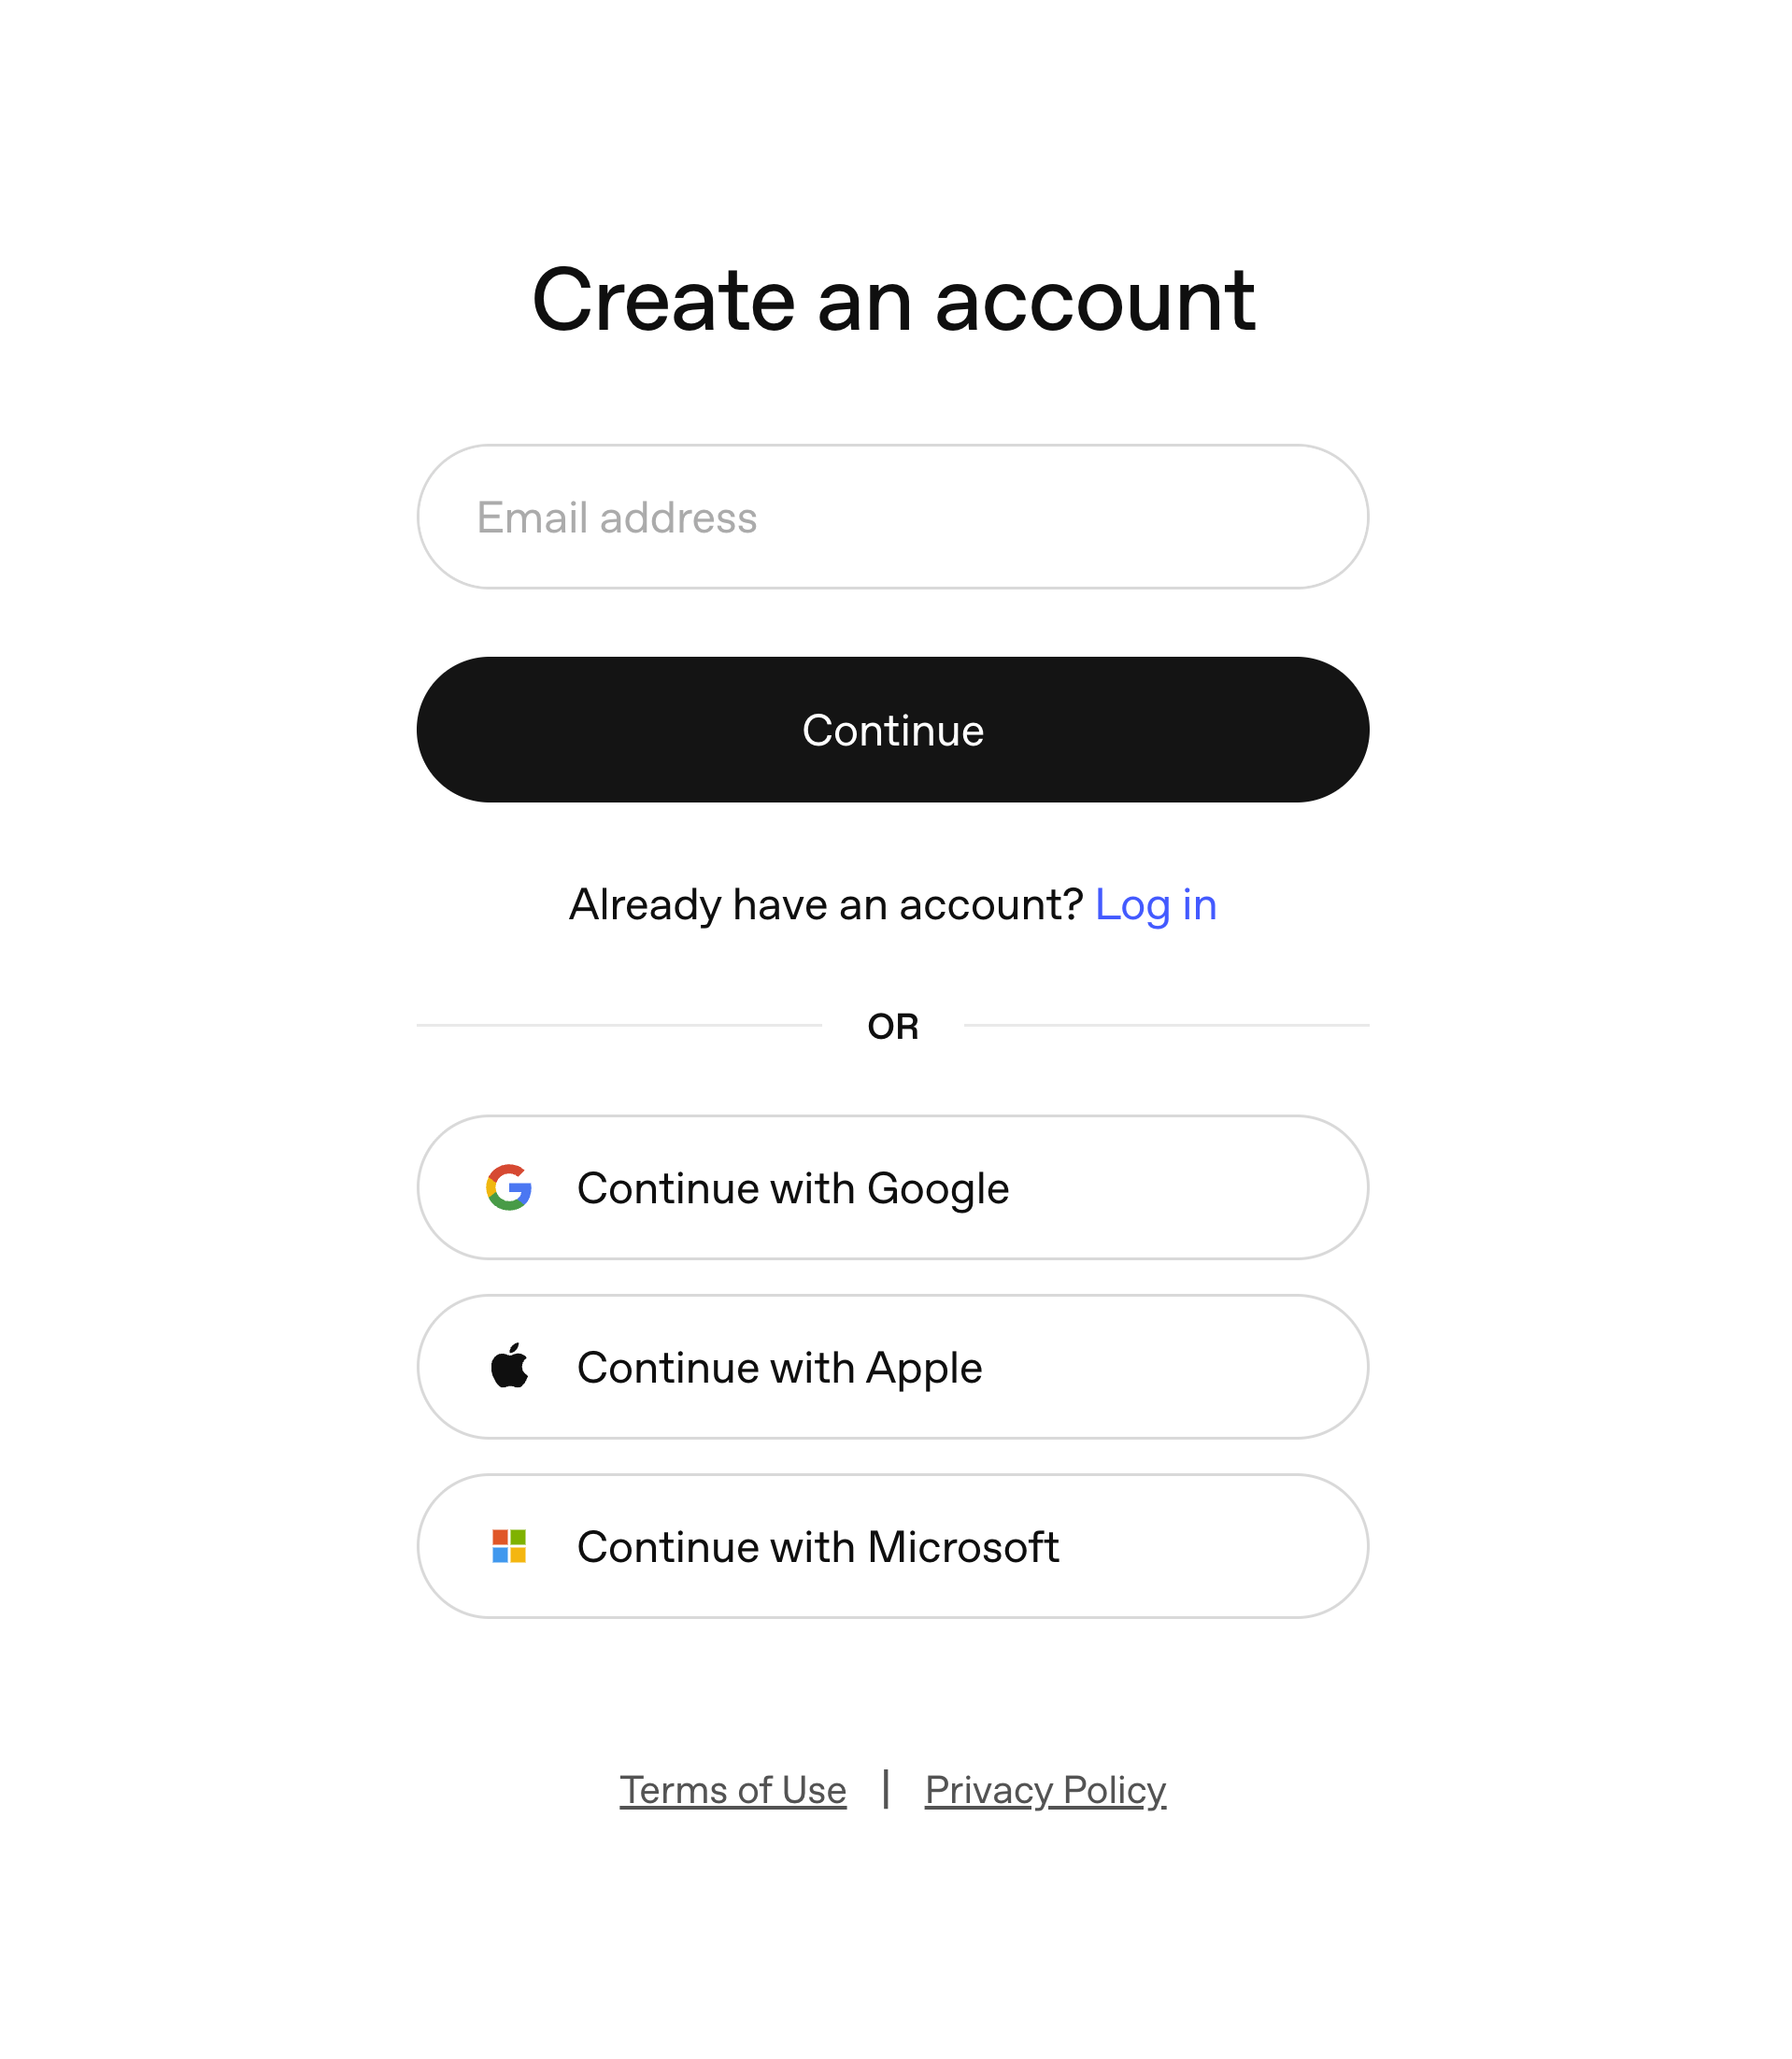
First step is to create an OpenAI account by going to https://platform.openai.com if you don’t already have one. As you can see in the following screenshot, you can create an account via your Google/Apple or Microsoft account, which will speed up the registration process.
But based on our experience, it would be much easier in the future if you create your OpenAI account via an email, because later you can add a password, and manage the account more easily.
Add Payment Method
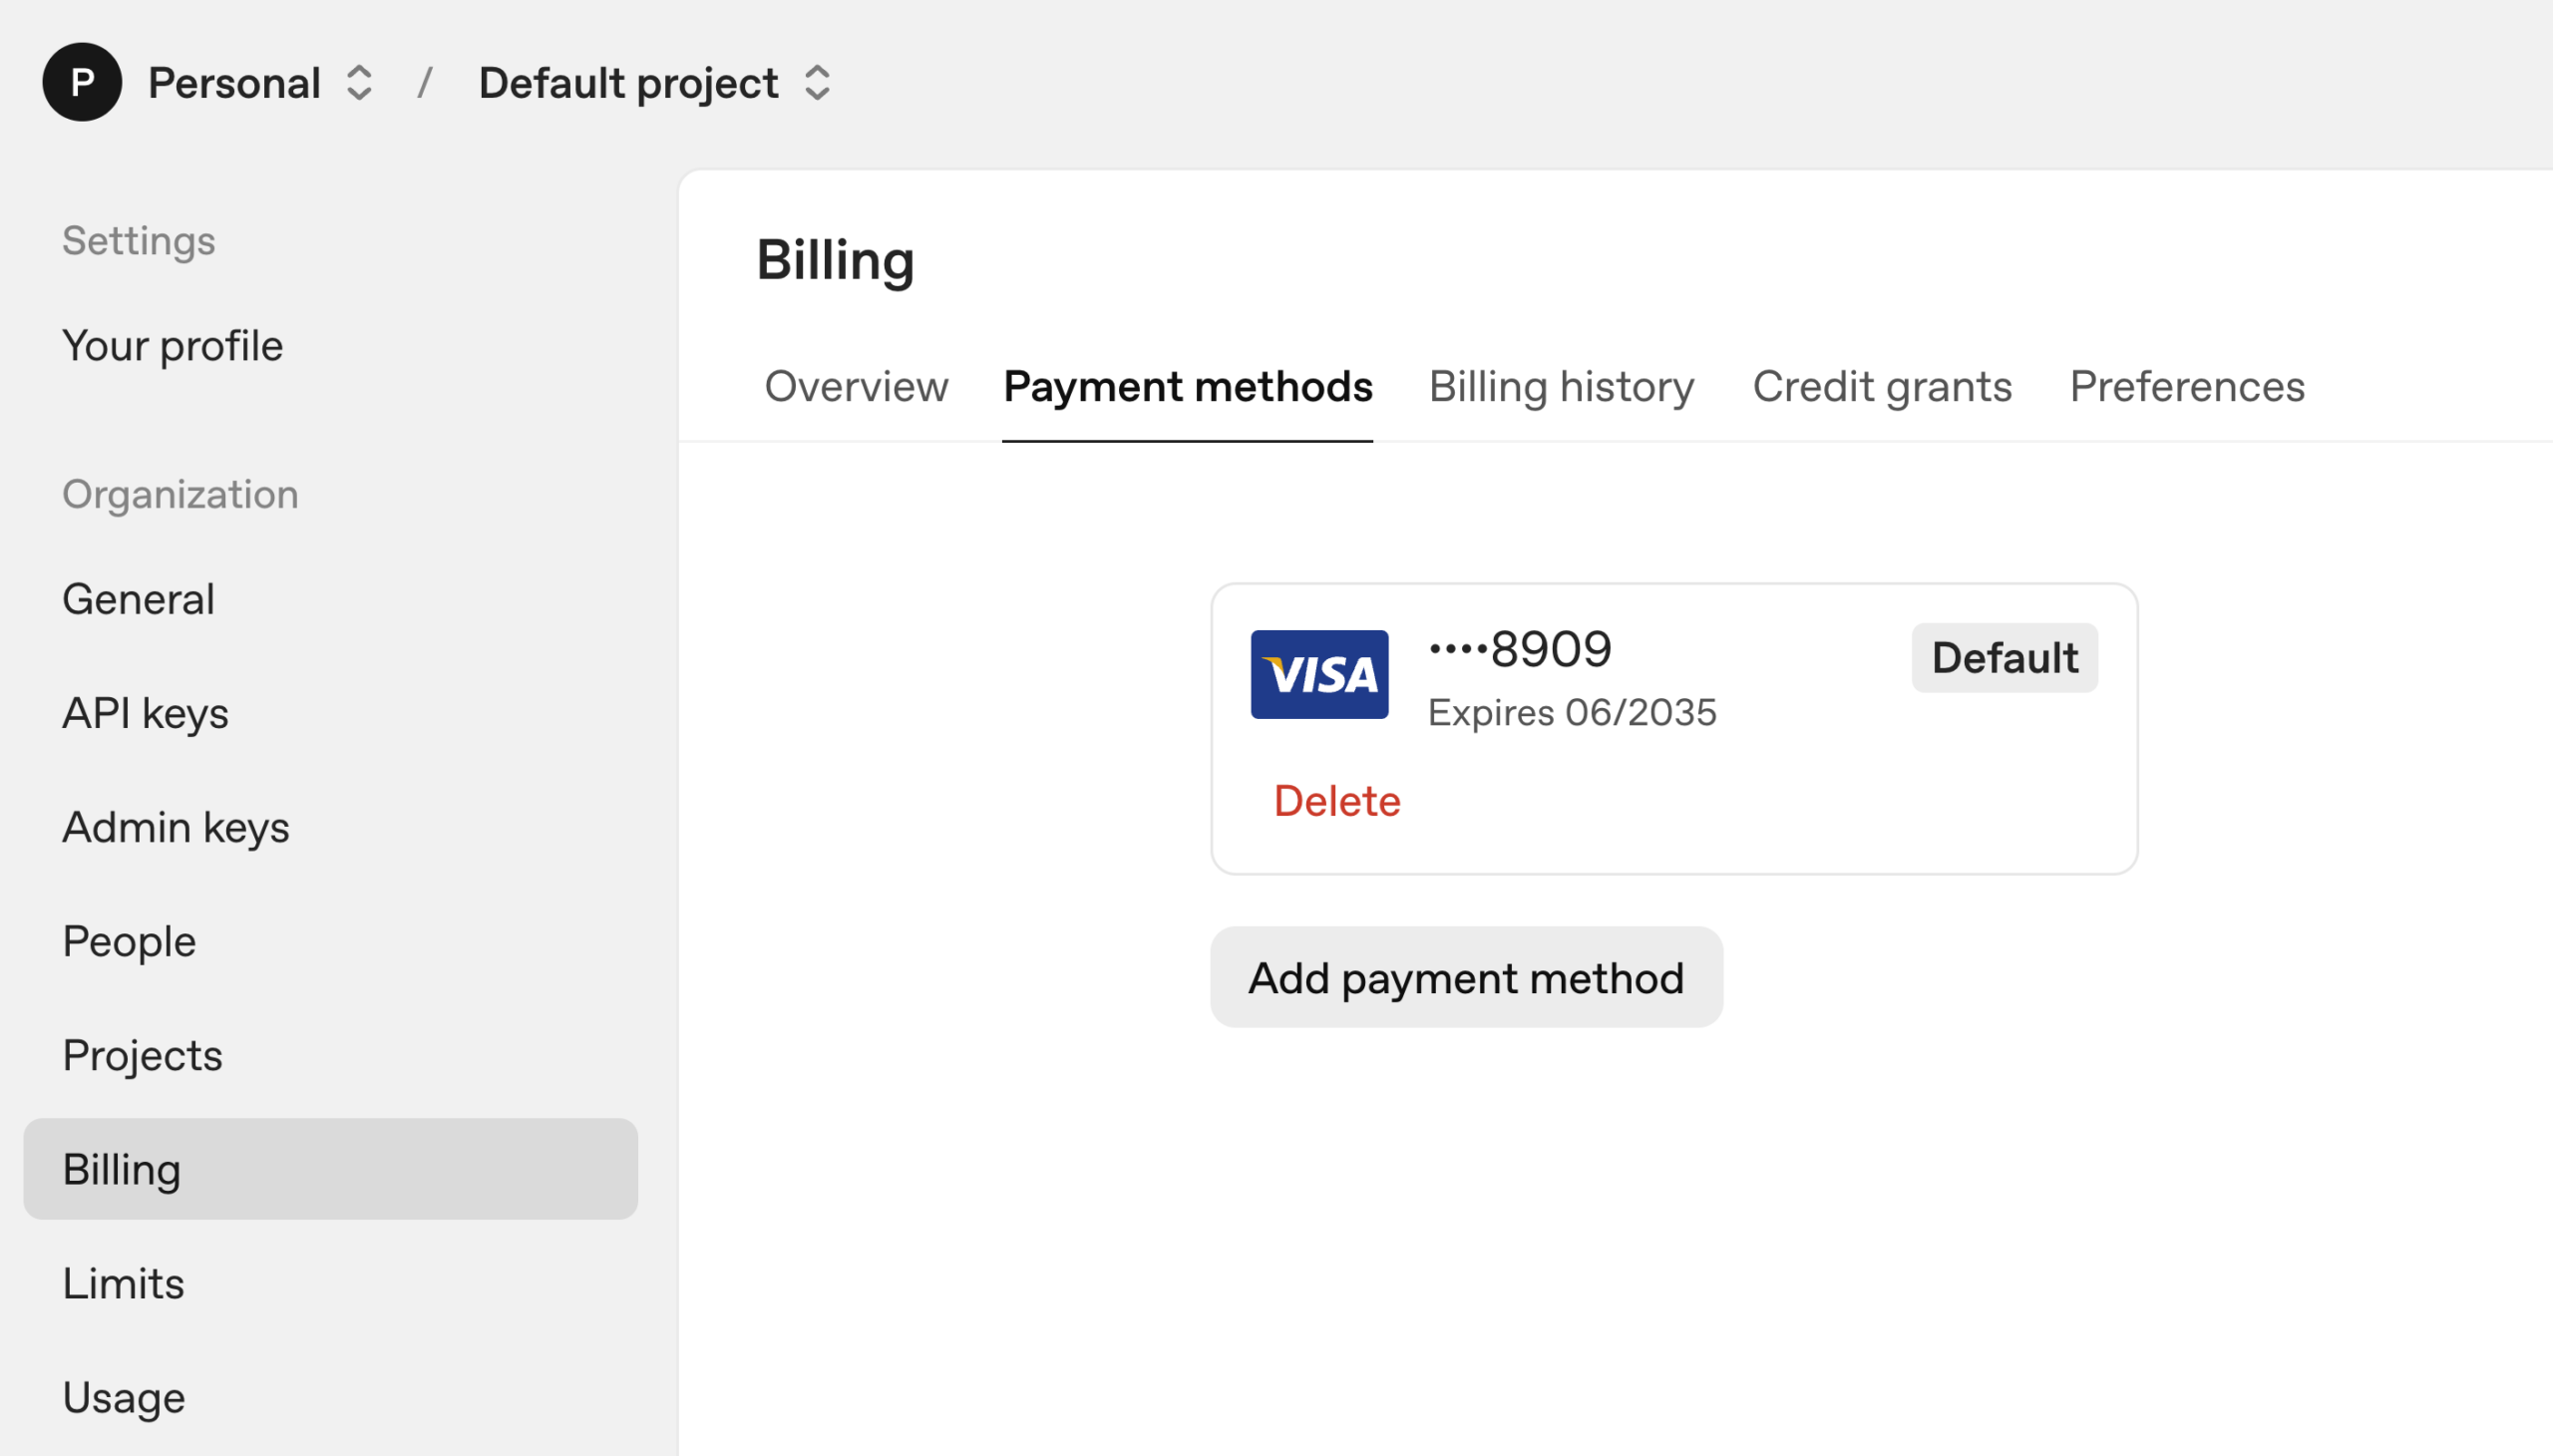
After you create the account, you should also configure and add a payment method. To do so, go to → https://platform.openai.com/settings/organization/billing/payment-methods, and you see a dashboard like the following. As you can see, we already have a payment method configured, so for you to add your own payment method, click on the “Add payment method” button.
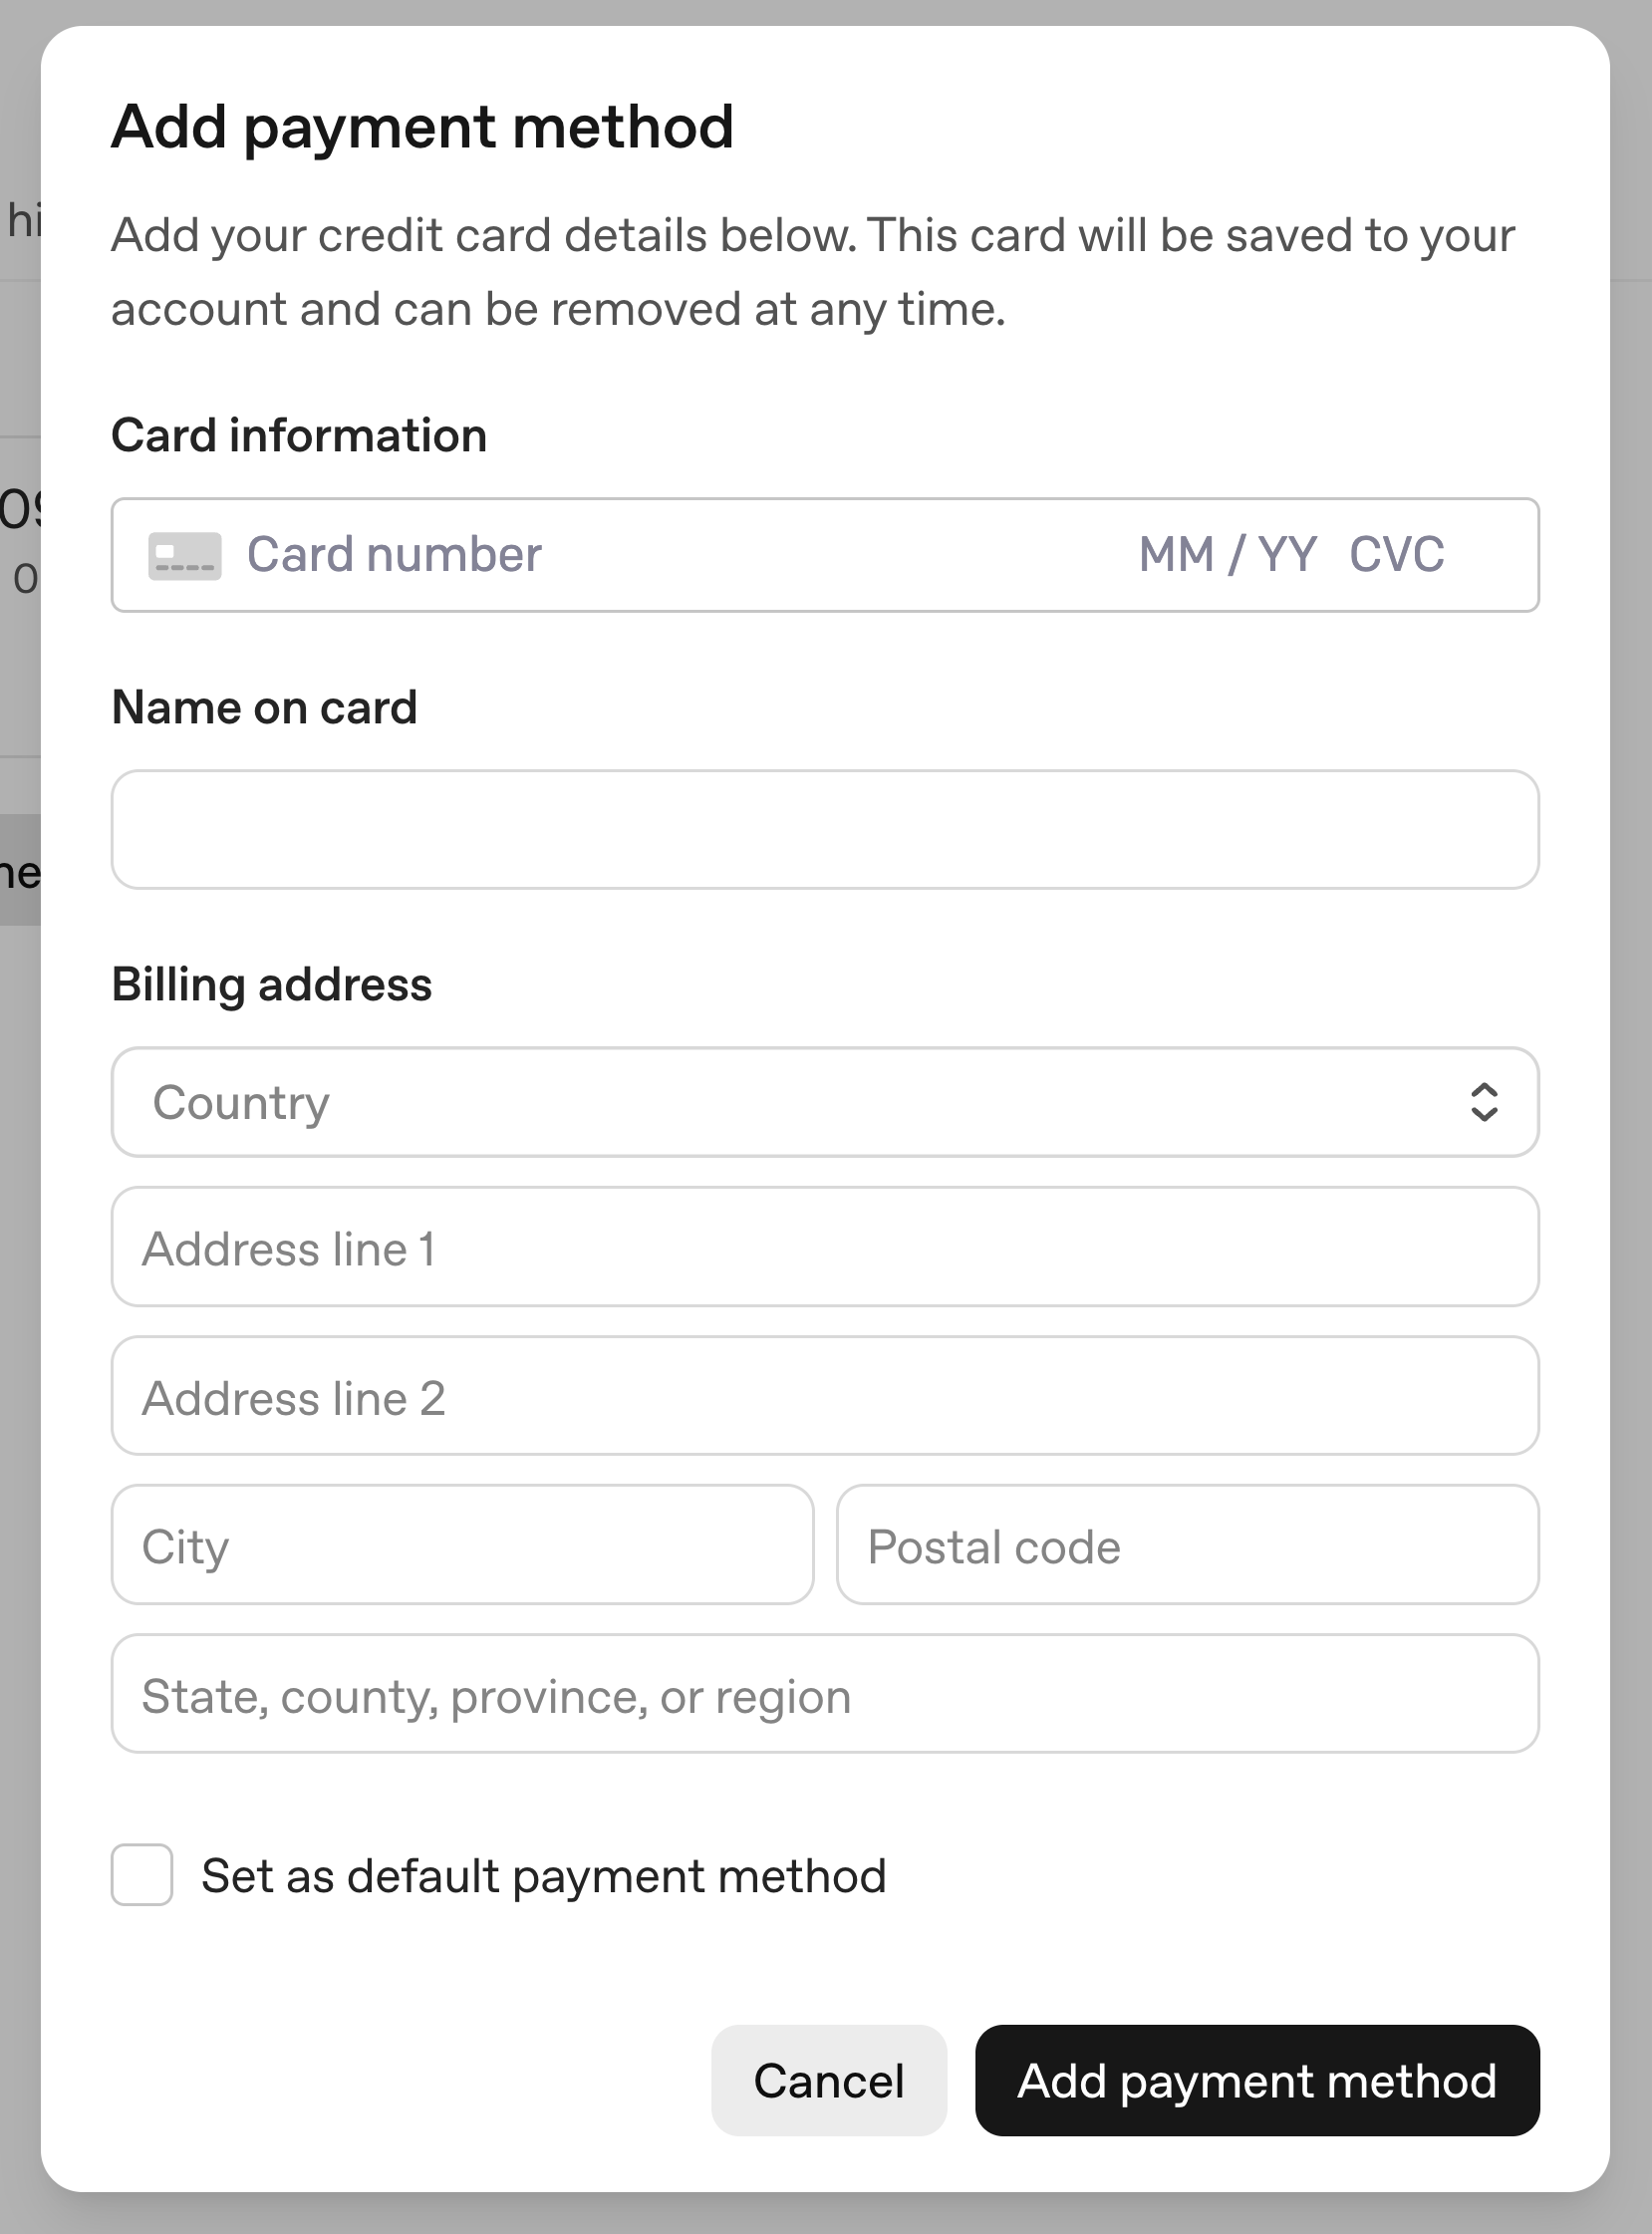
Then you will see a pop-up opening like the following, then put the payment method information and hit the “Add payment method” button at the end.
Set up the “Pay as you go”
In order to manage the costs of the API key usage, we recommend going to https://platform.openai.com/settings/organization/billing/overview and charge your account by 5 to 10 dollars for now (You do not need more than that for now – unless you really want to spend some more money here!)
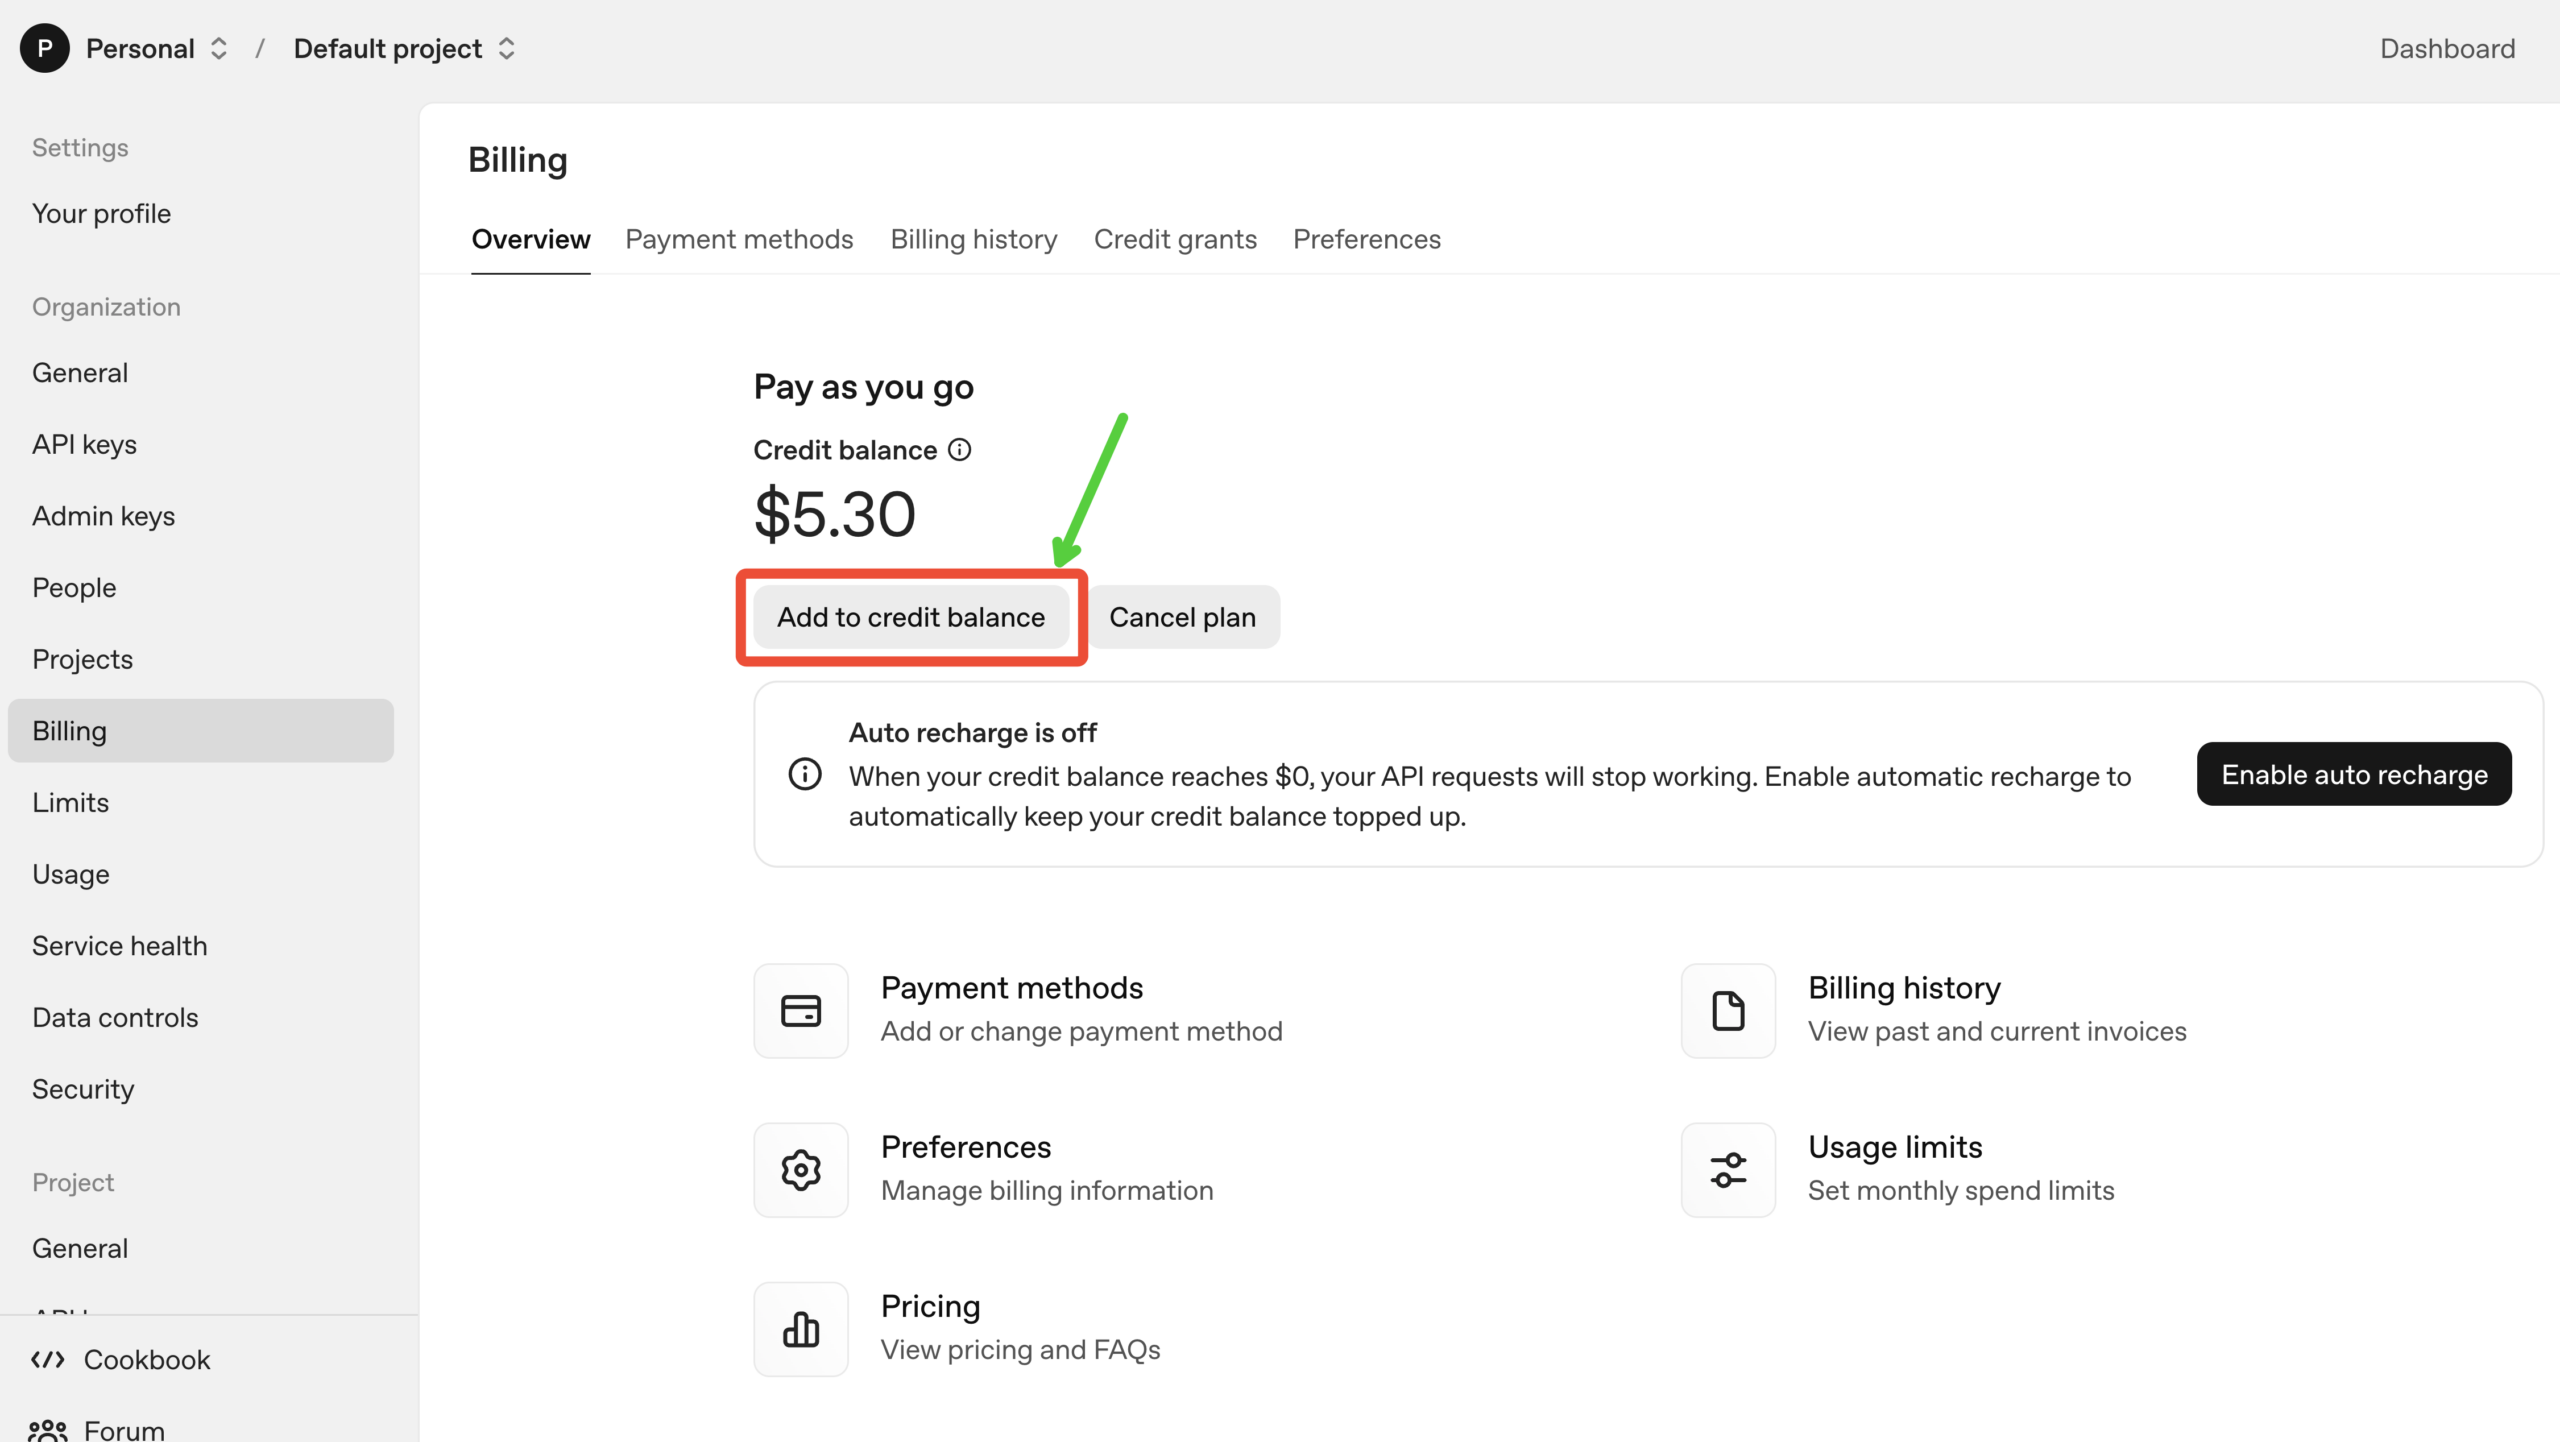
After clicking on the “Add to credit balance” button, you will see a popup opens:
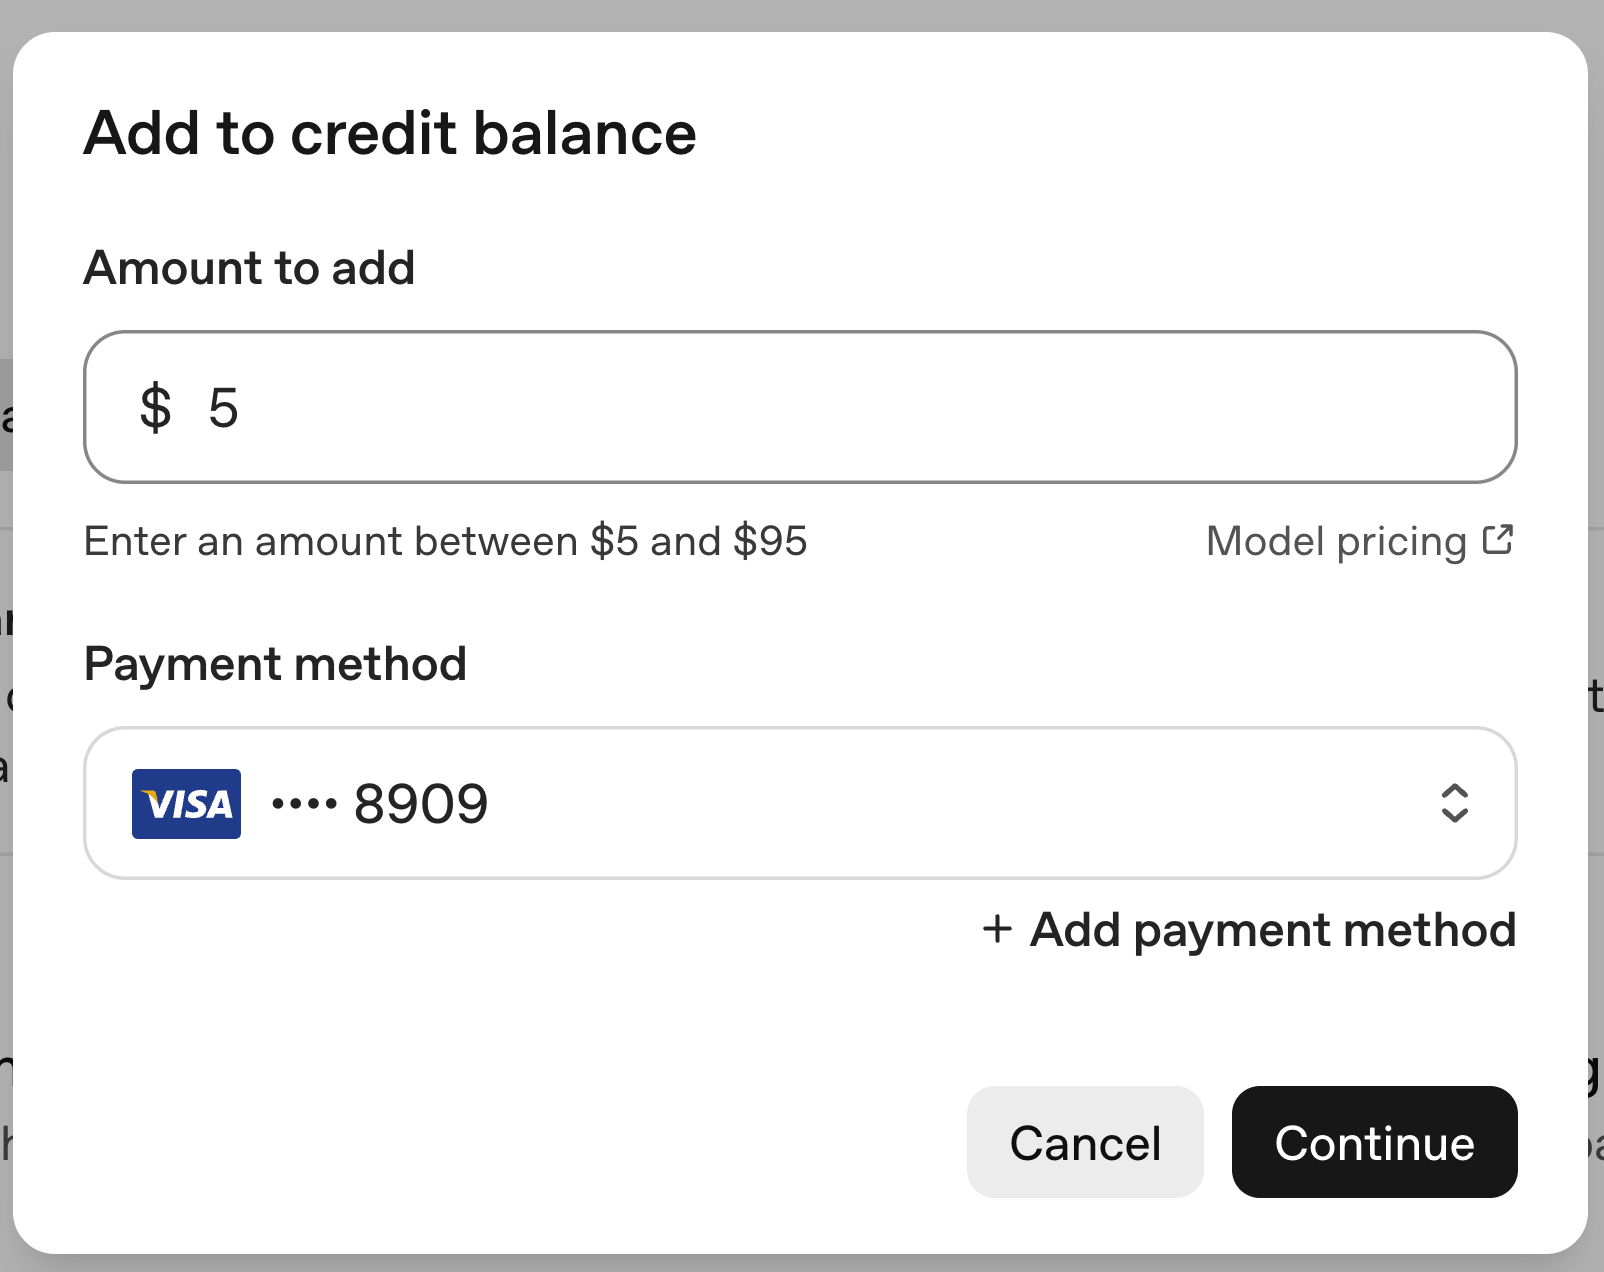
Set the amount that you need, then hit continue and charge up your account.
Create Your First OpenAI API Key
After doing all of the above, we can finally create our first OpenAI API Key. Go to https://platform.openai.com/api-keys
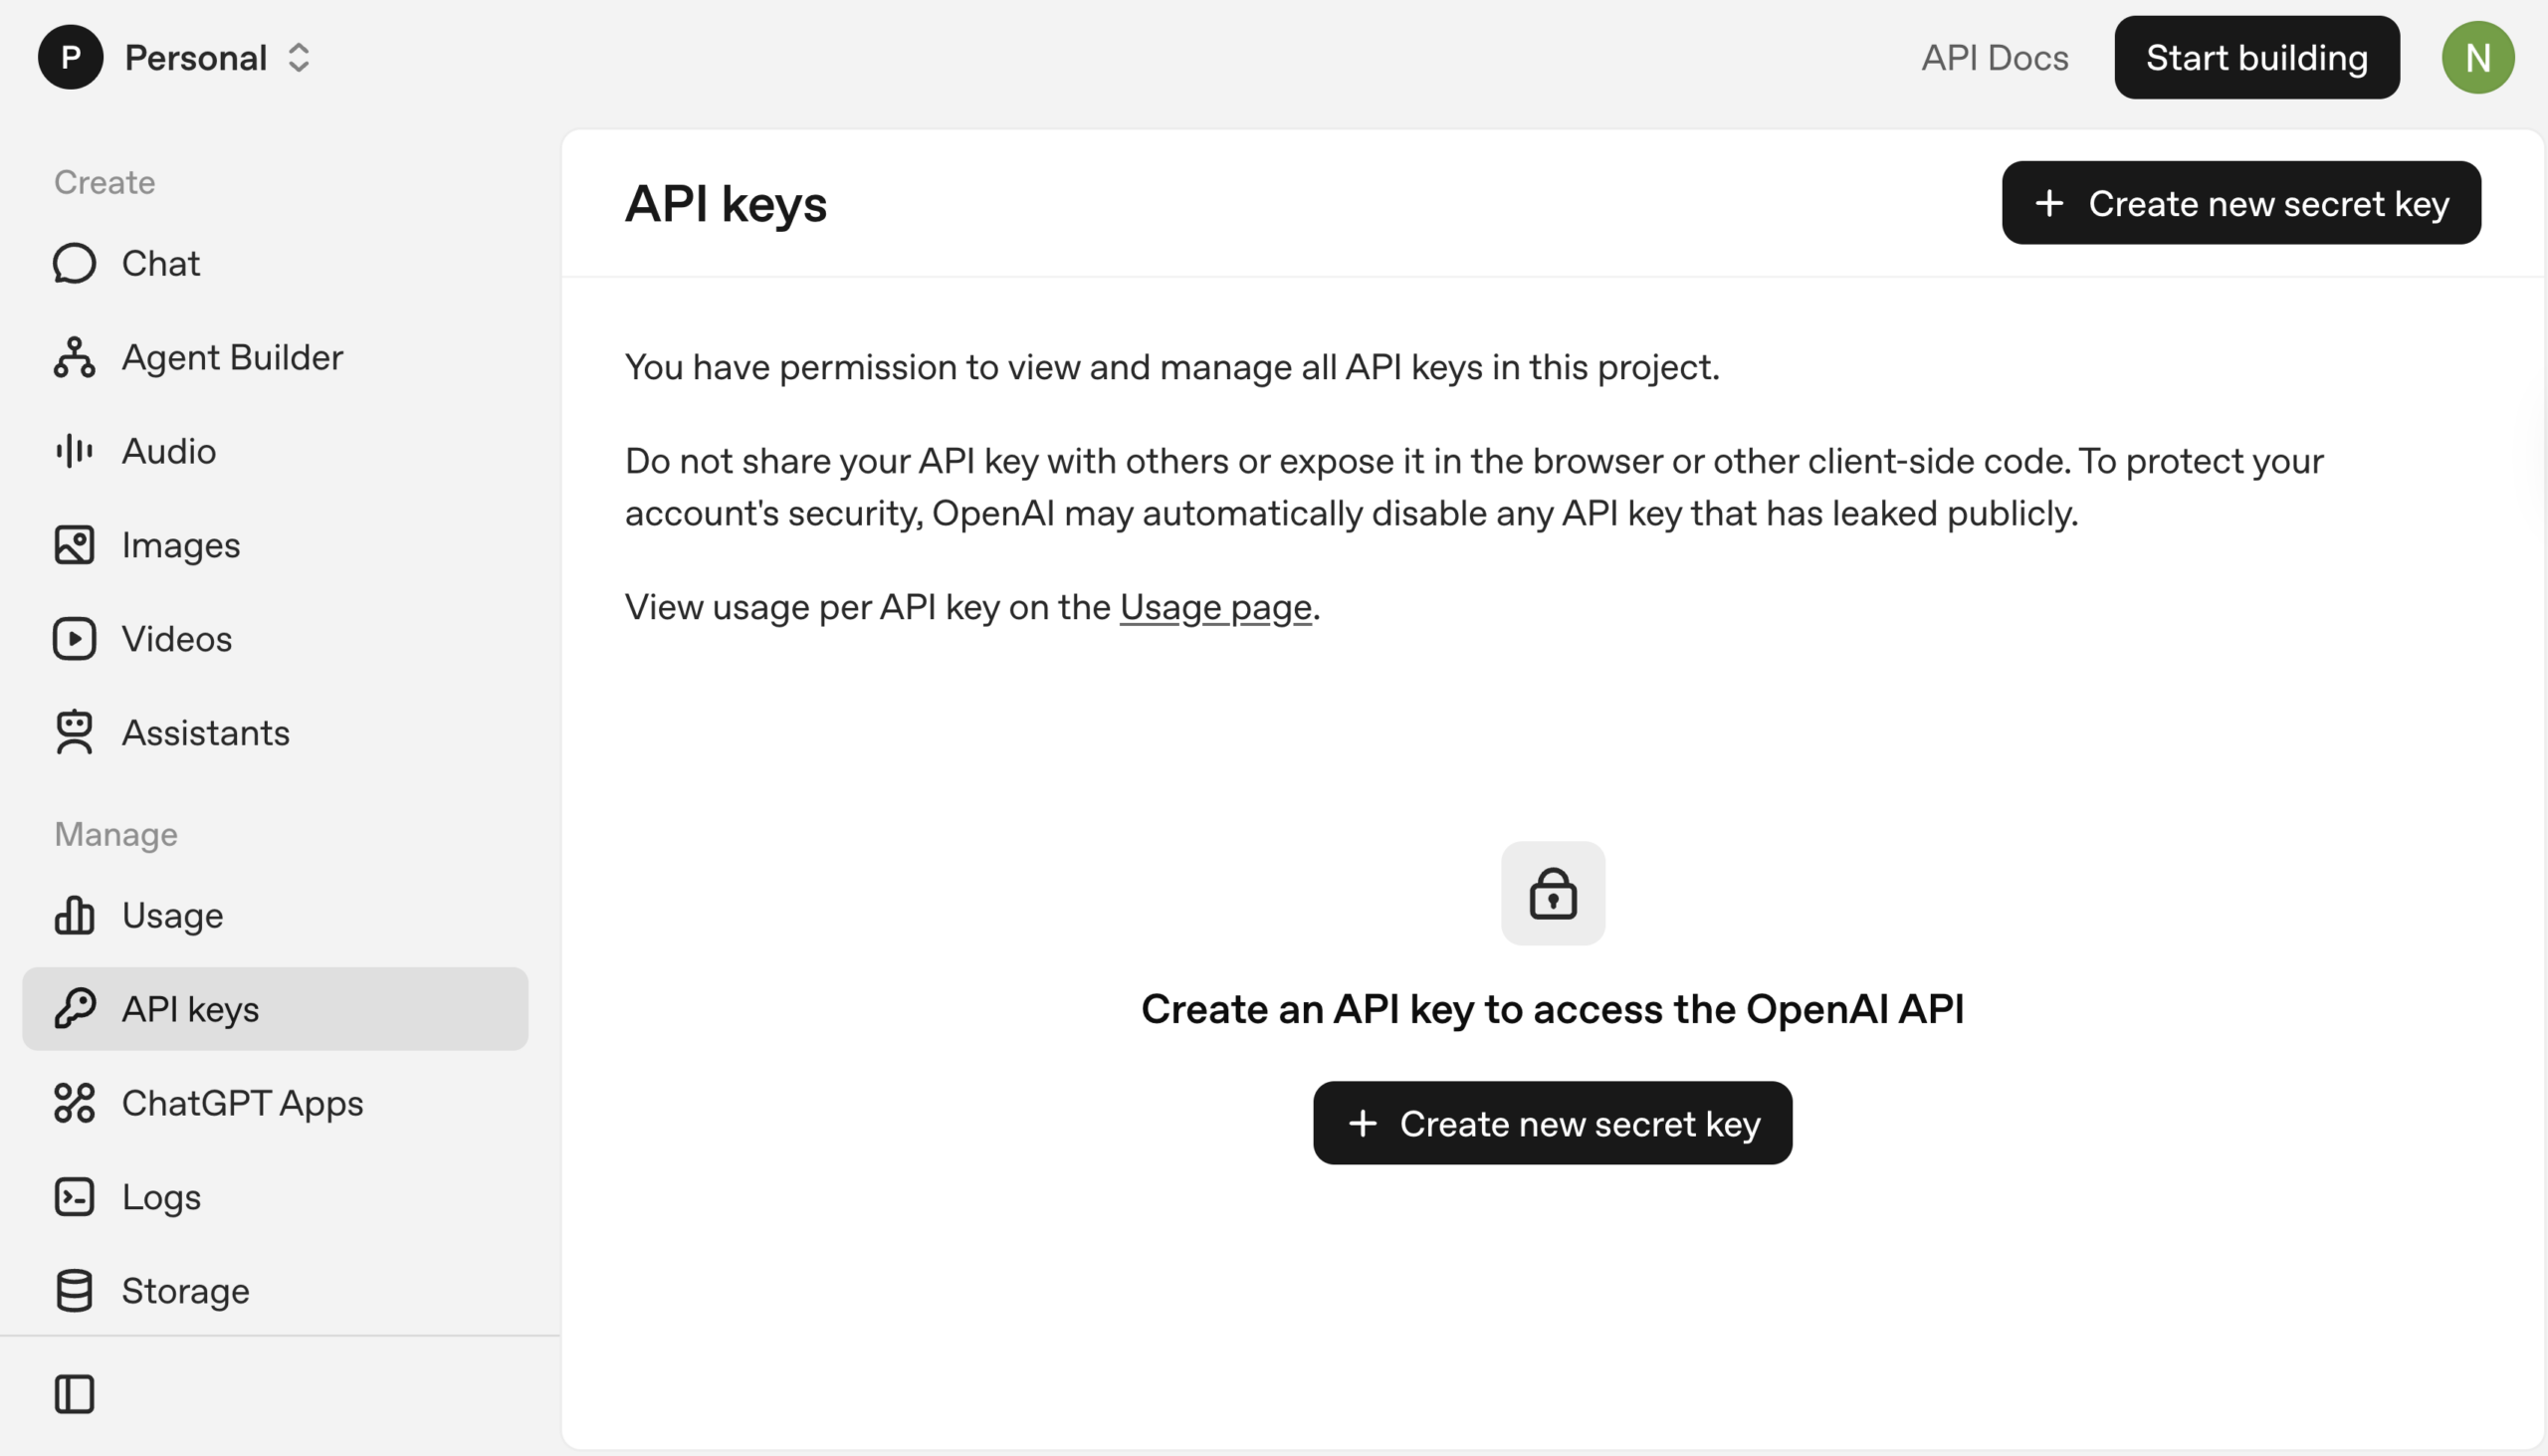
Then click on “Create new secret key” button, after doing so, a pop up will show like the following:
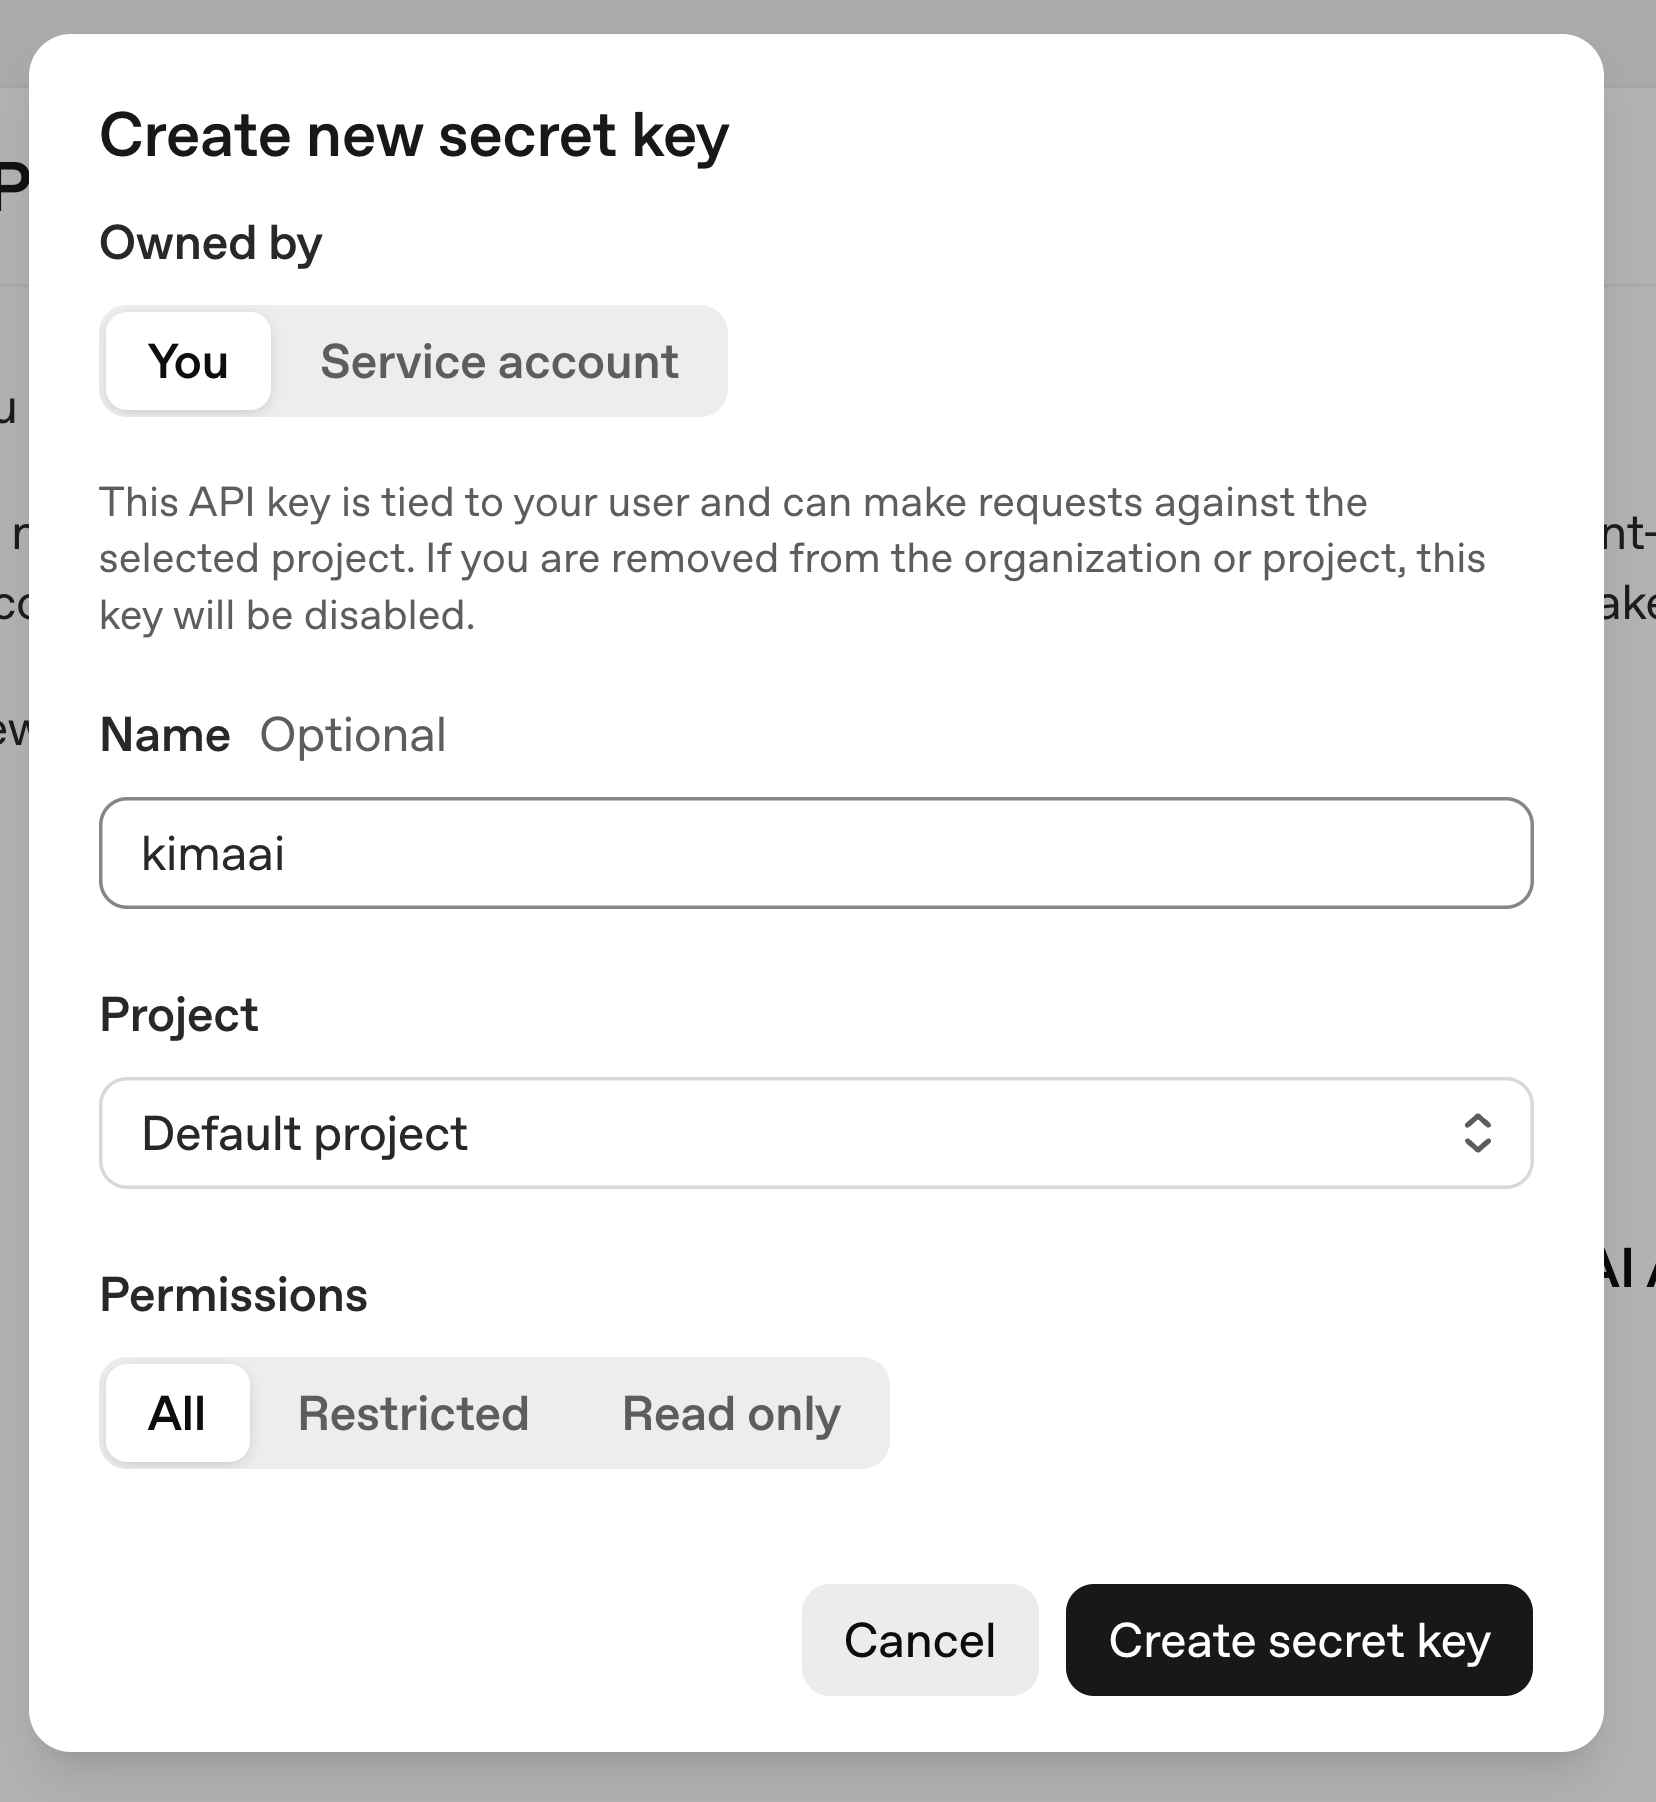
Give your API Key a name so that you can manage them more easily in the future. Then hit the “Create secret key” button.
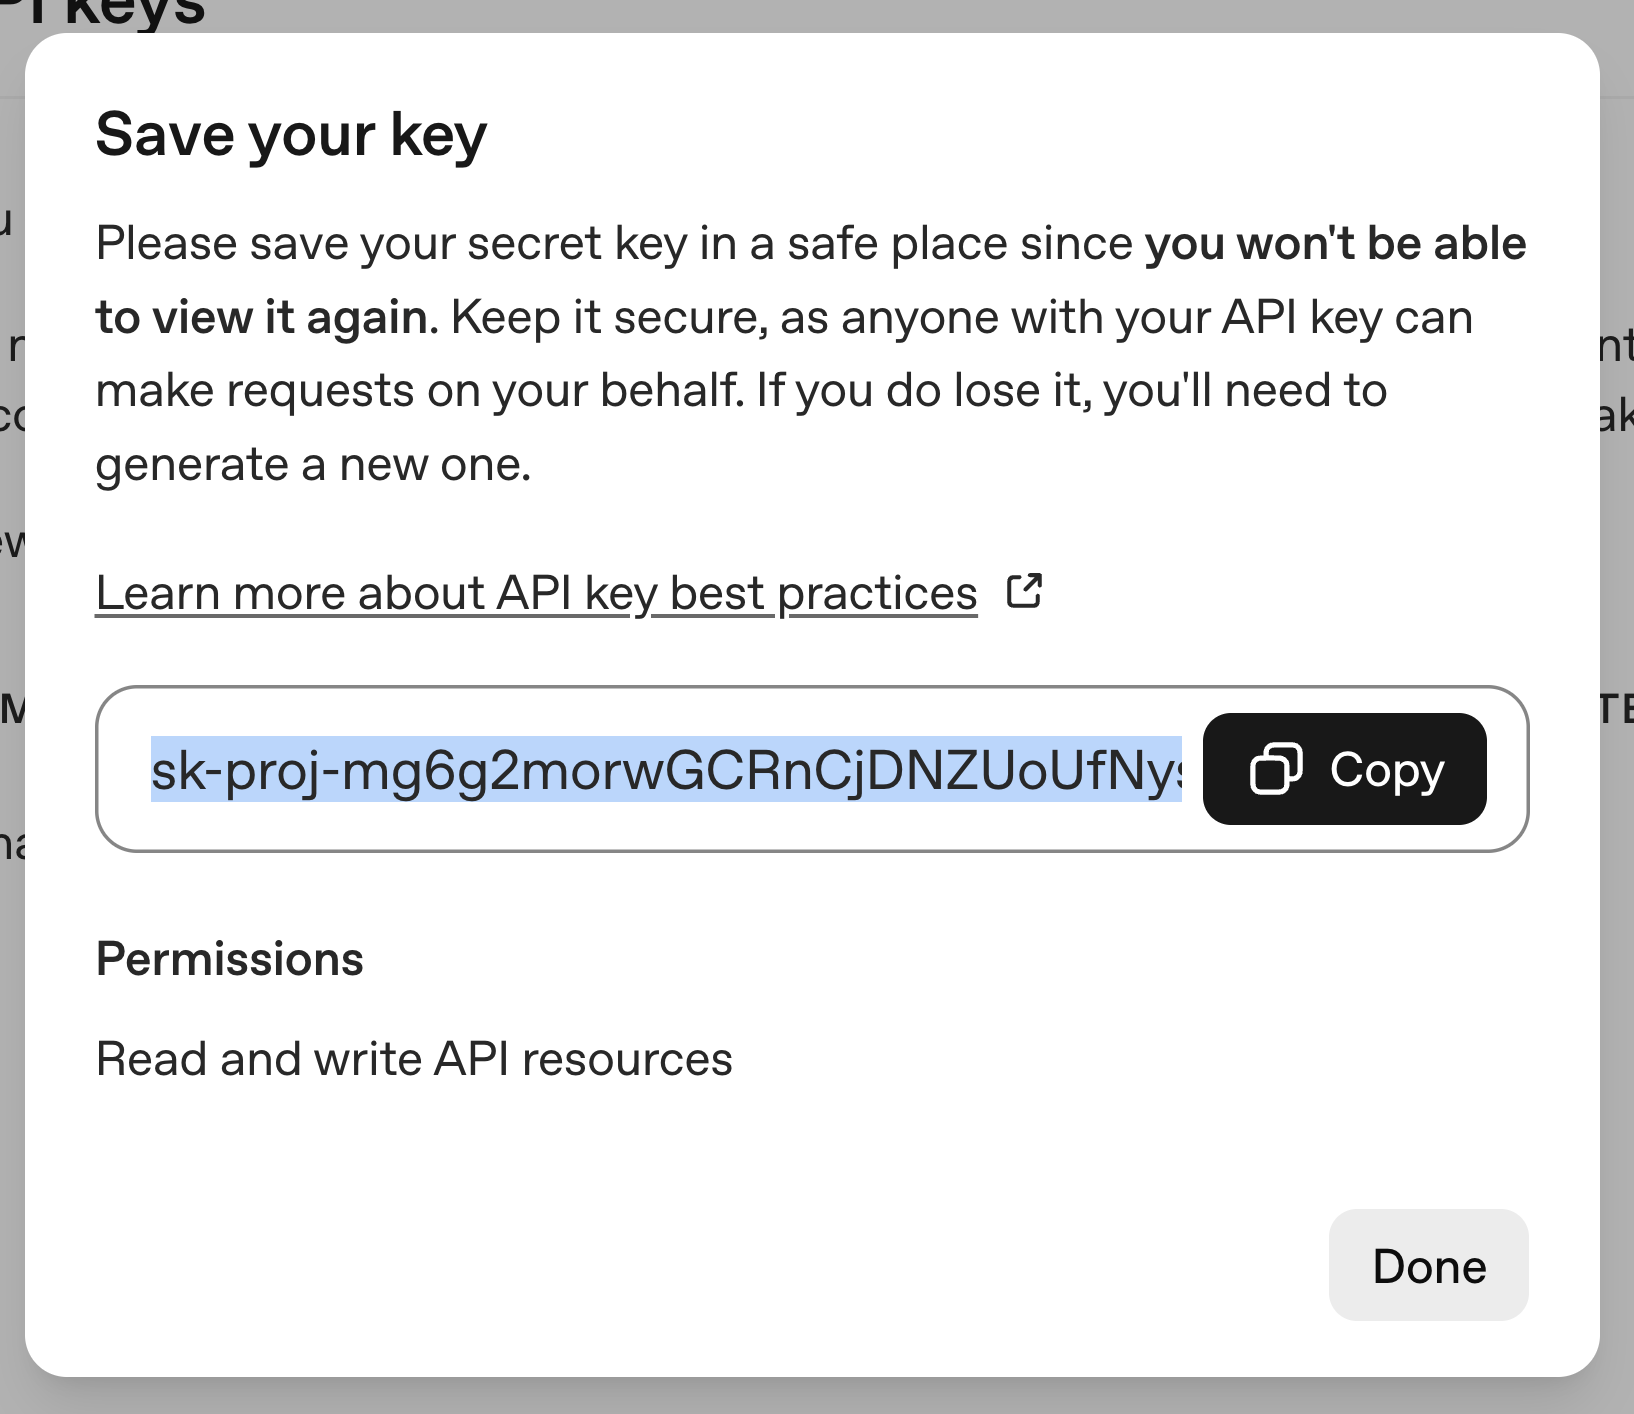
Congratulations! 🎉 Now you have your OpenAI API key! The only remaining step is to just hit the copy button and then save this API key somewhere on your computer, because after you close this pop-up, you can not copy it anymore. If you lose it, you have to create a new one.
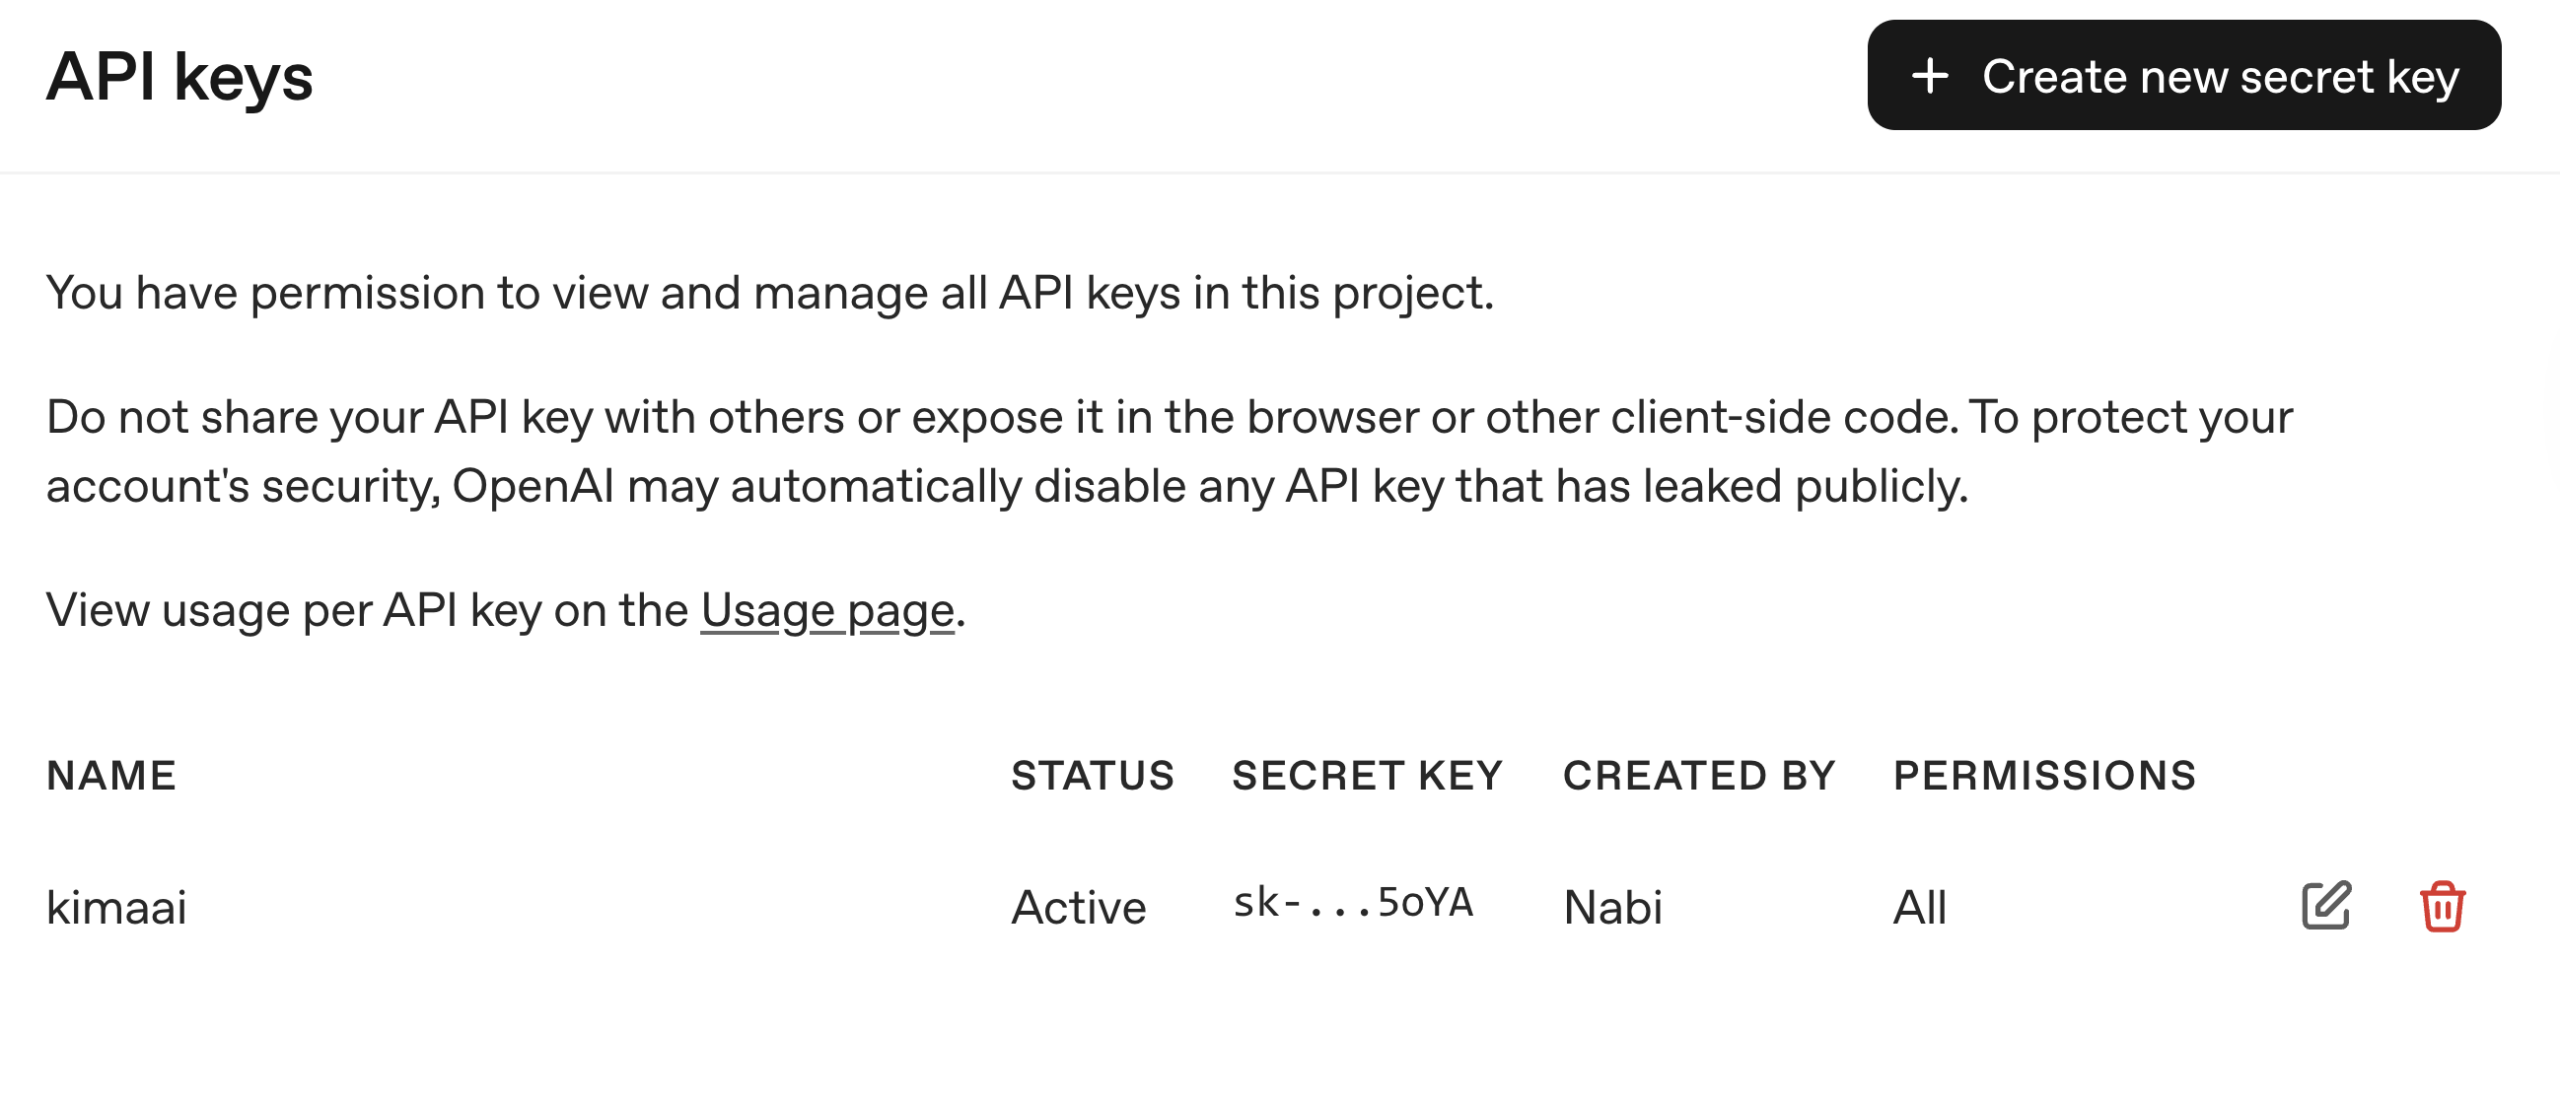
After closing the pop-up window, then you can see your newly created API key like the following.
Finally
Now that you have your OpenAI API key, it’s time to go to the KimaAI setting page and configure your AI service!


